Surveys
RiskBase Door Survey
RiskBase door surveys have three steps:
- Collect Specification during initial survey. Review and modify this information during subsequent surveys.
- Check Condition (if accessible) each time the door is included in a survey.
- Recommend Remedial Actions (if required) based on the findings of the condition check.
While tablets and smartphones are both great tools for collecting door data, we find a growing number of surveyors opt for the more compact smartphone to move efficiently around a site.
Get Started
Sign In to RiskBase
Sign in to the RiskBase app on a mobile device or at https://app.riskbase.uk in a web browser on a desktop computer.
Download Assets
- Press on the icon (top-right) to see a list of your cloud assets
- Press on an asset to select it
- Press Download to download it to your device
Once downloaded, you can collect information and perform surveys offline, without an internet connection.
Start a Fire Door Survey
- Press on an asset
- Press Surveys Summary
- In the Door Survey section, press + Create Door Survey
- You might have multiple door survey templates, press to select one of the templates to begin the survey
Add New Door
You might have one or more door types in your assessment. The example below shows two types: Communal Fire Doors and Flat Entrance Doors.
The information is collected in the same way but you may find, the exact data points vary from door type to door type.
Create New Door
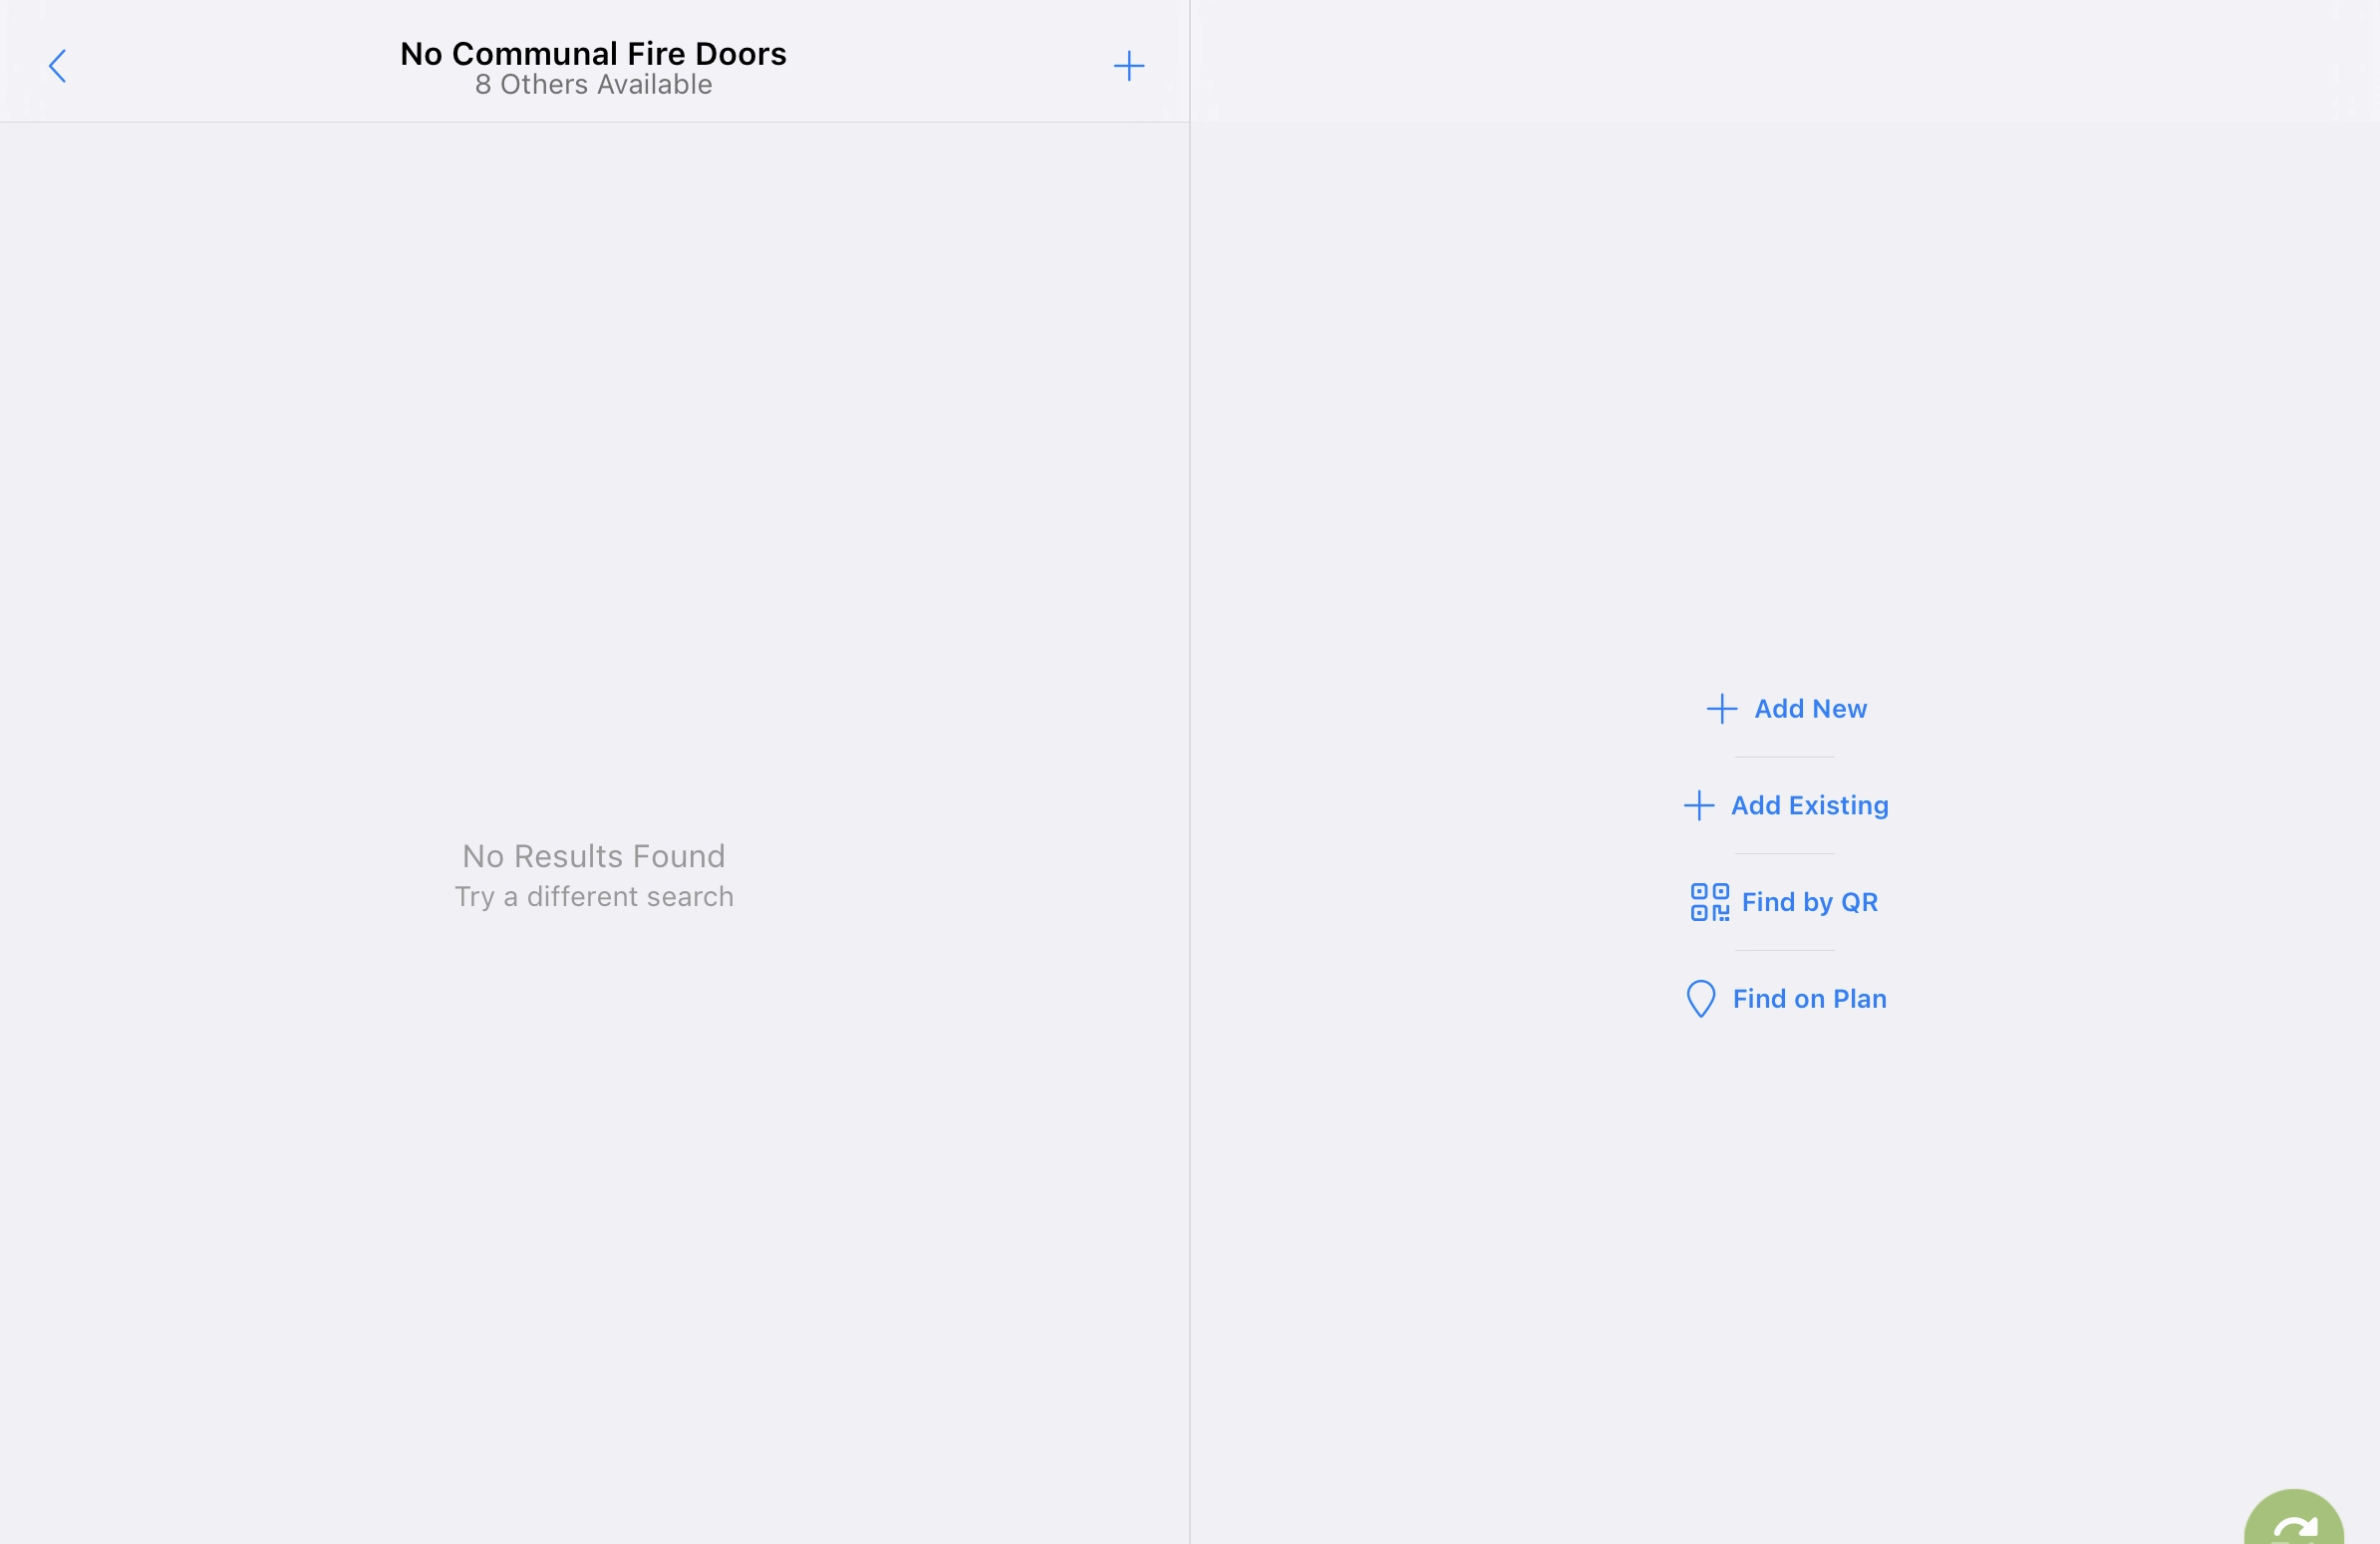
- Press on a door type, e.g. Communal Fire Door
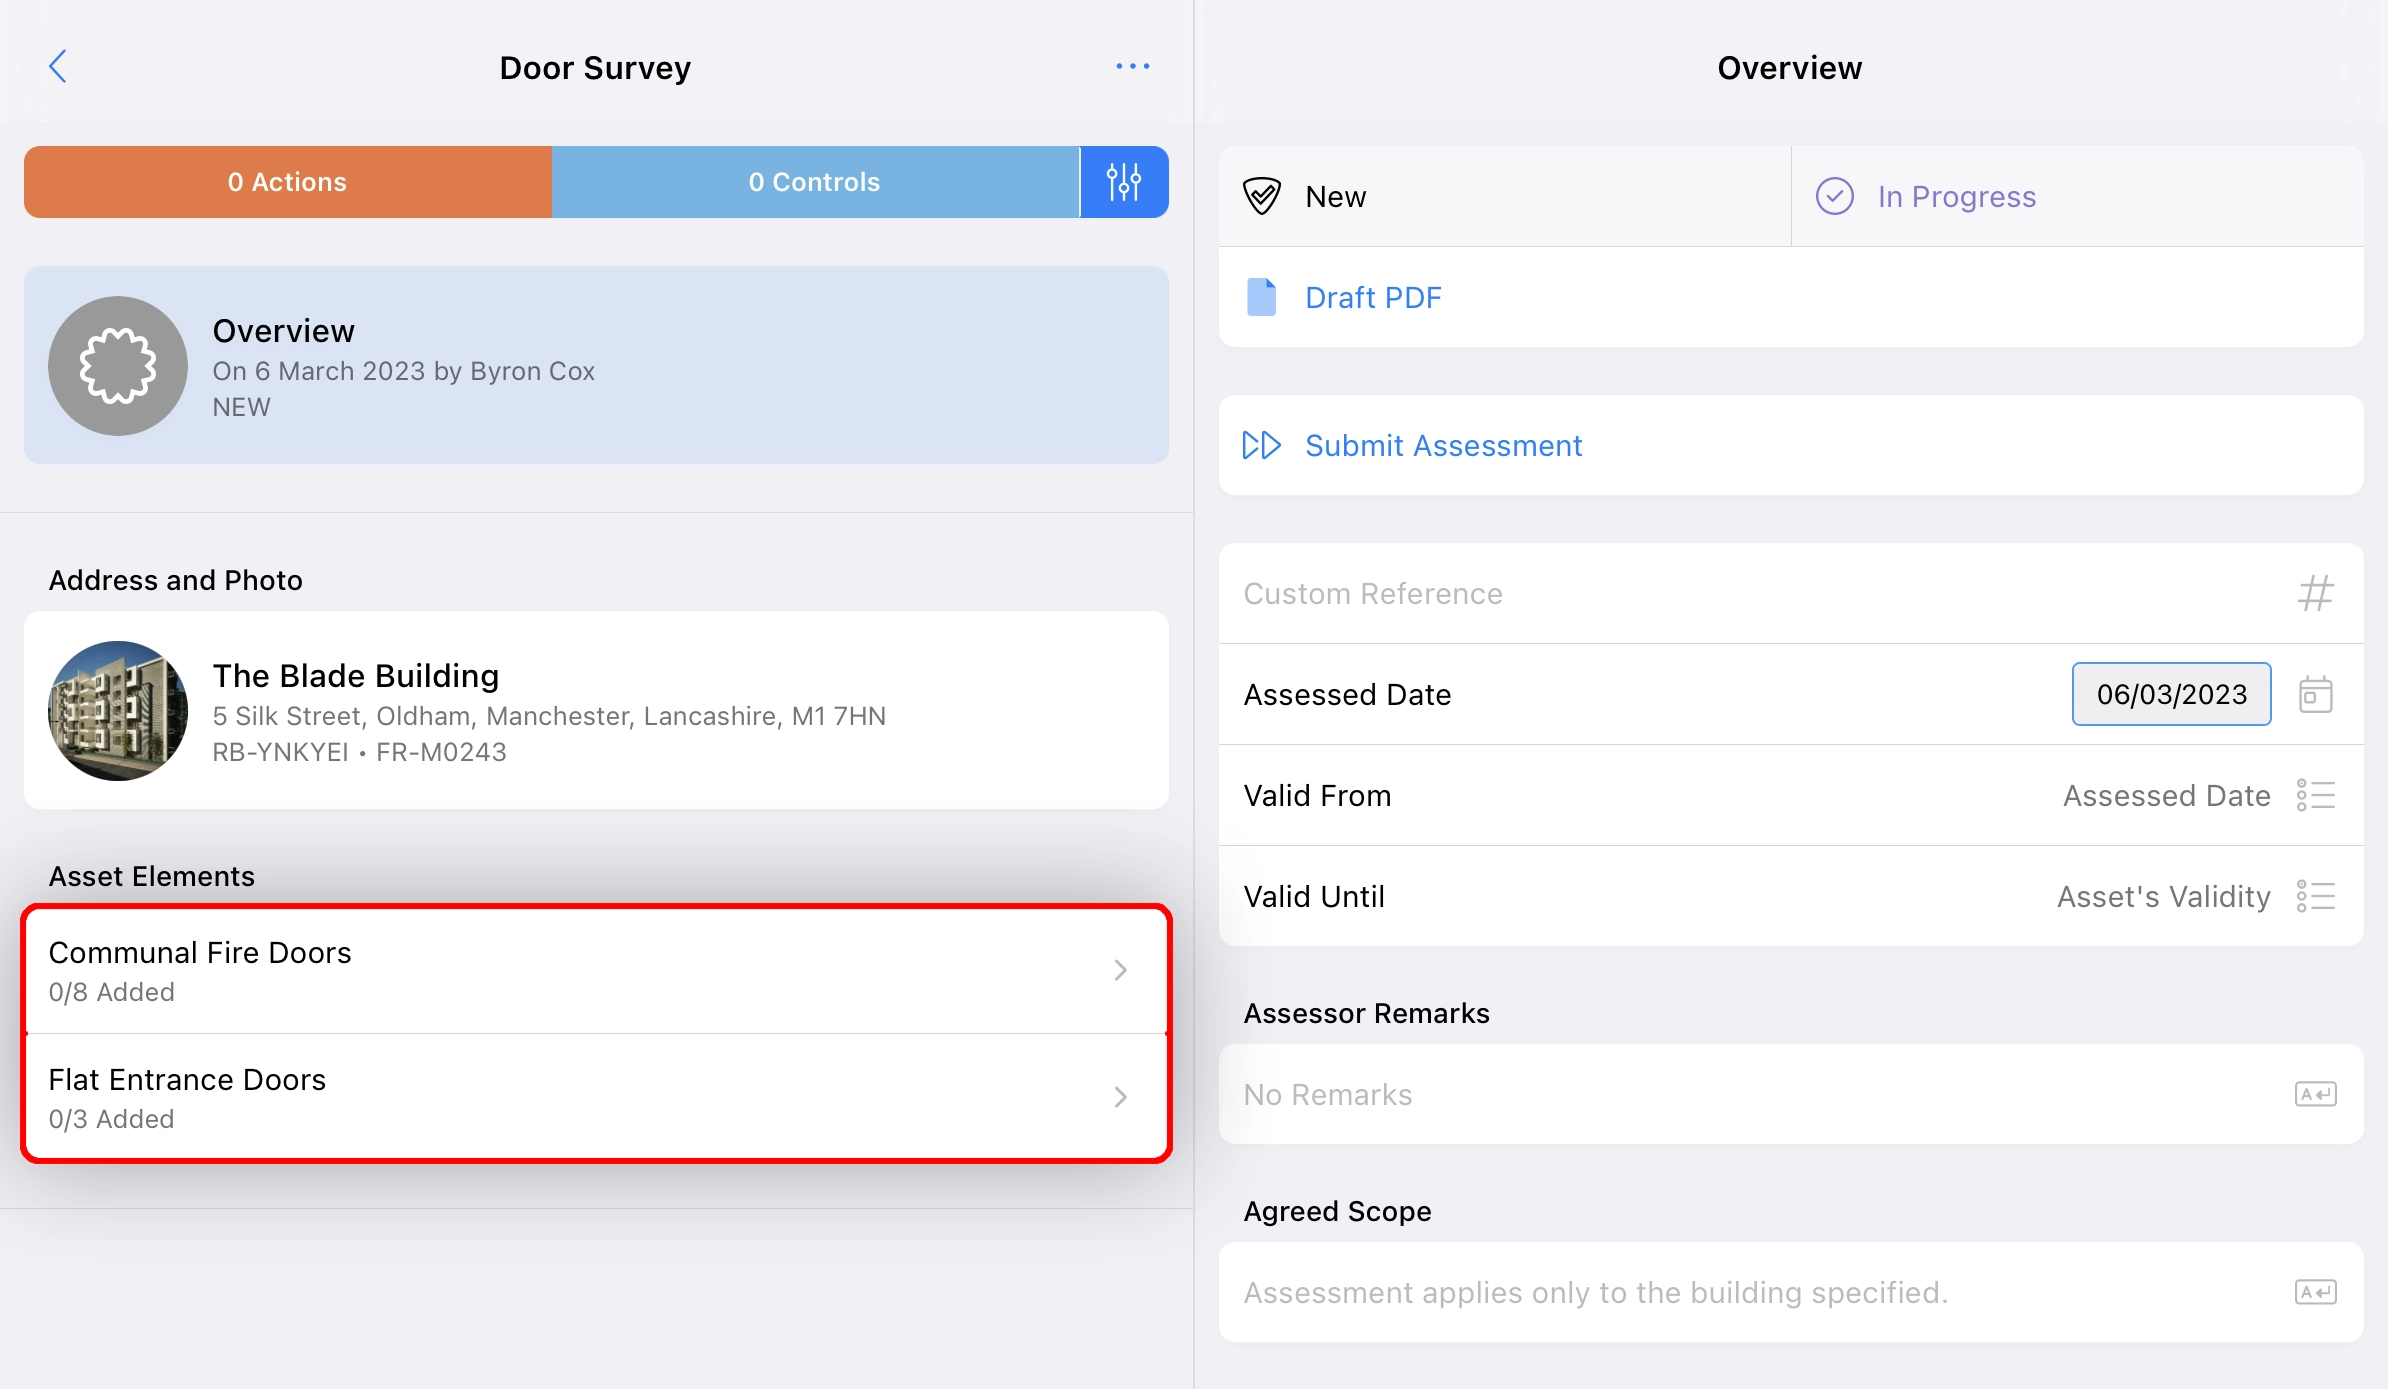
- Press + Add New
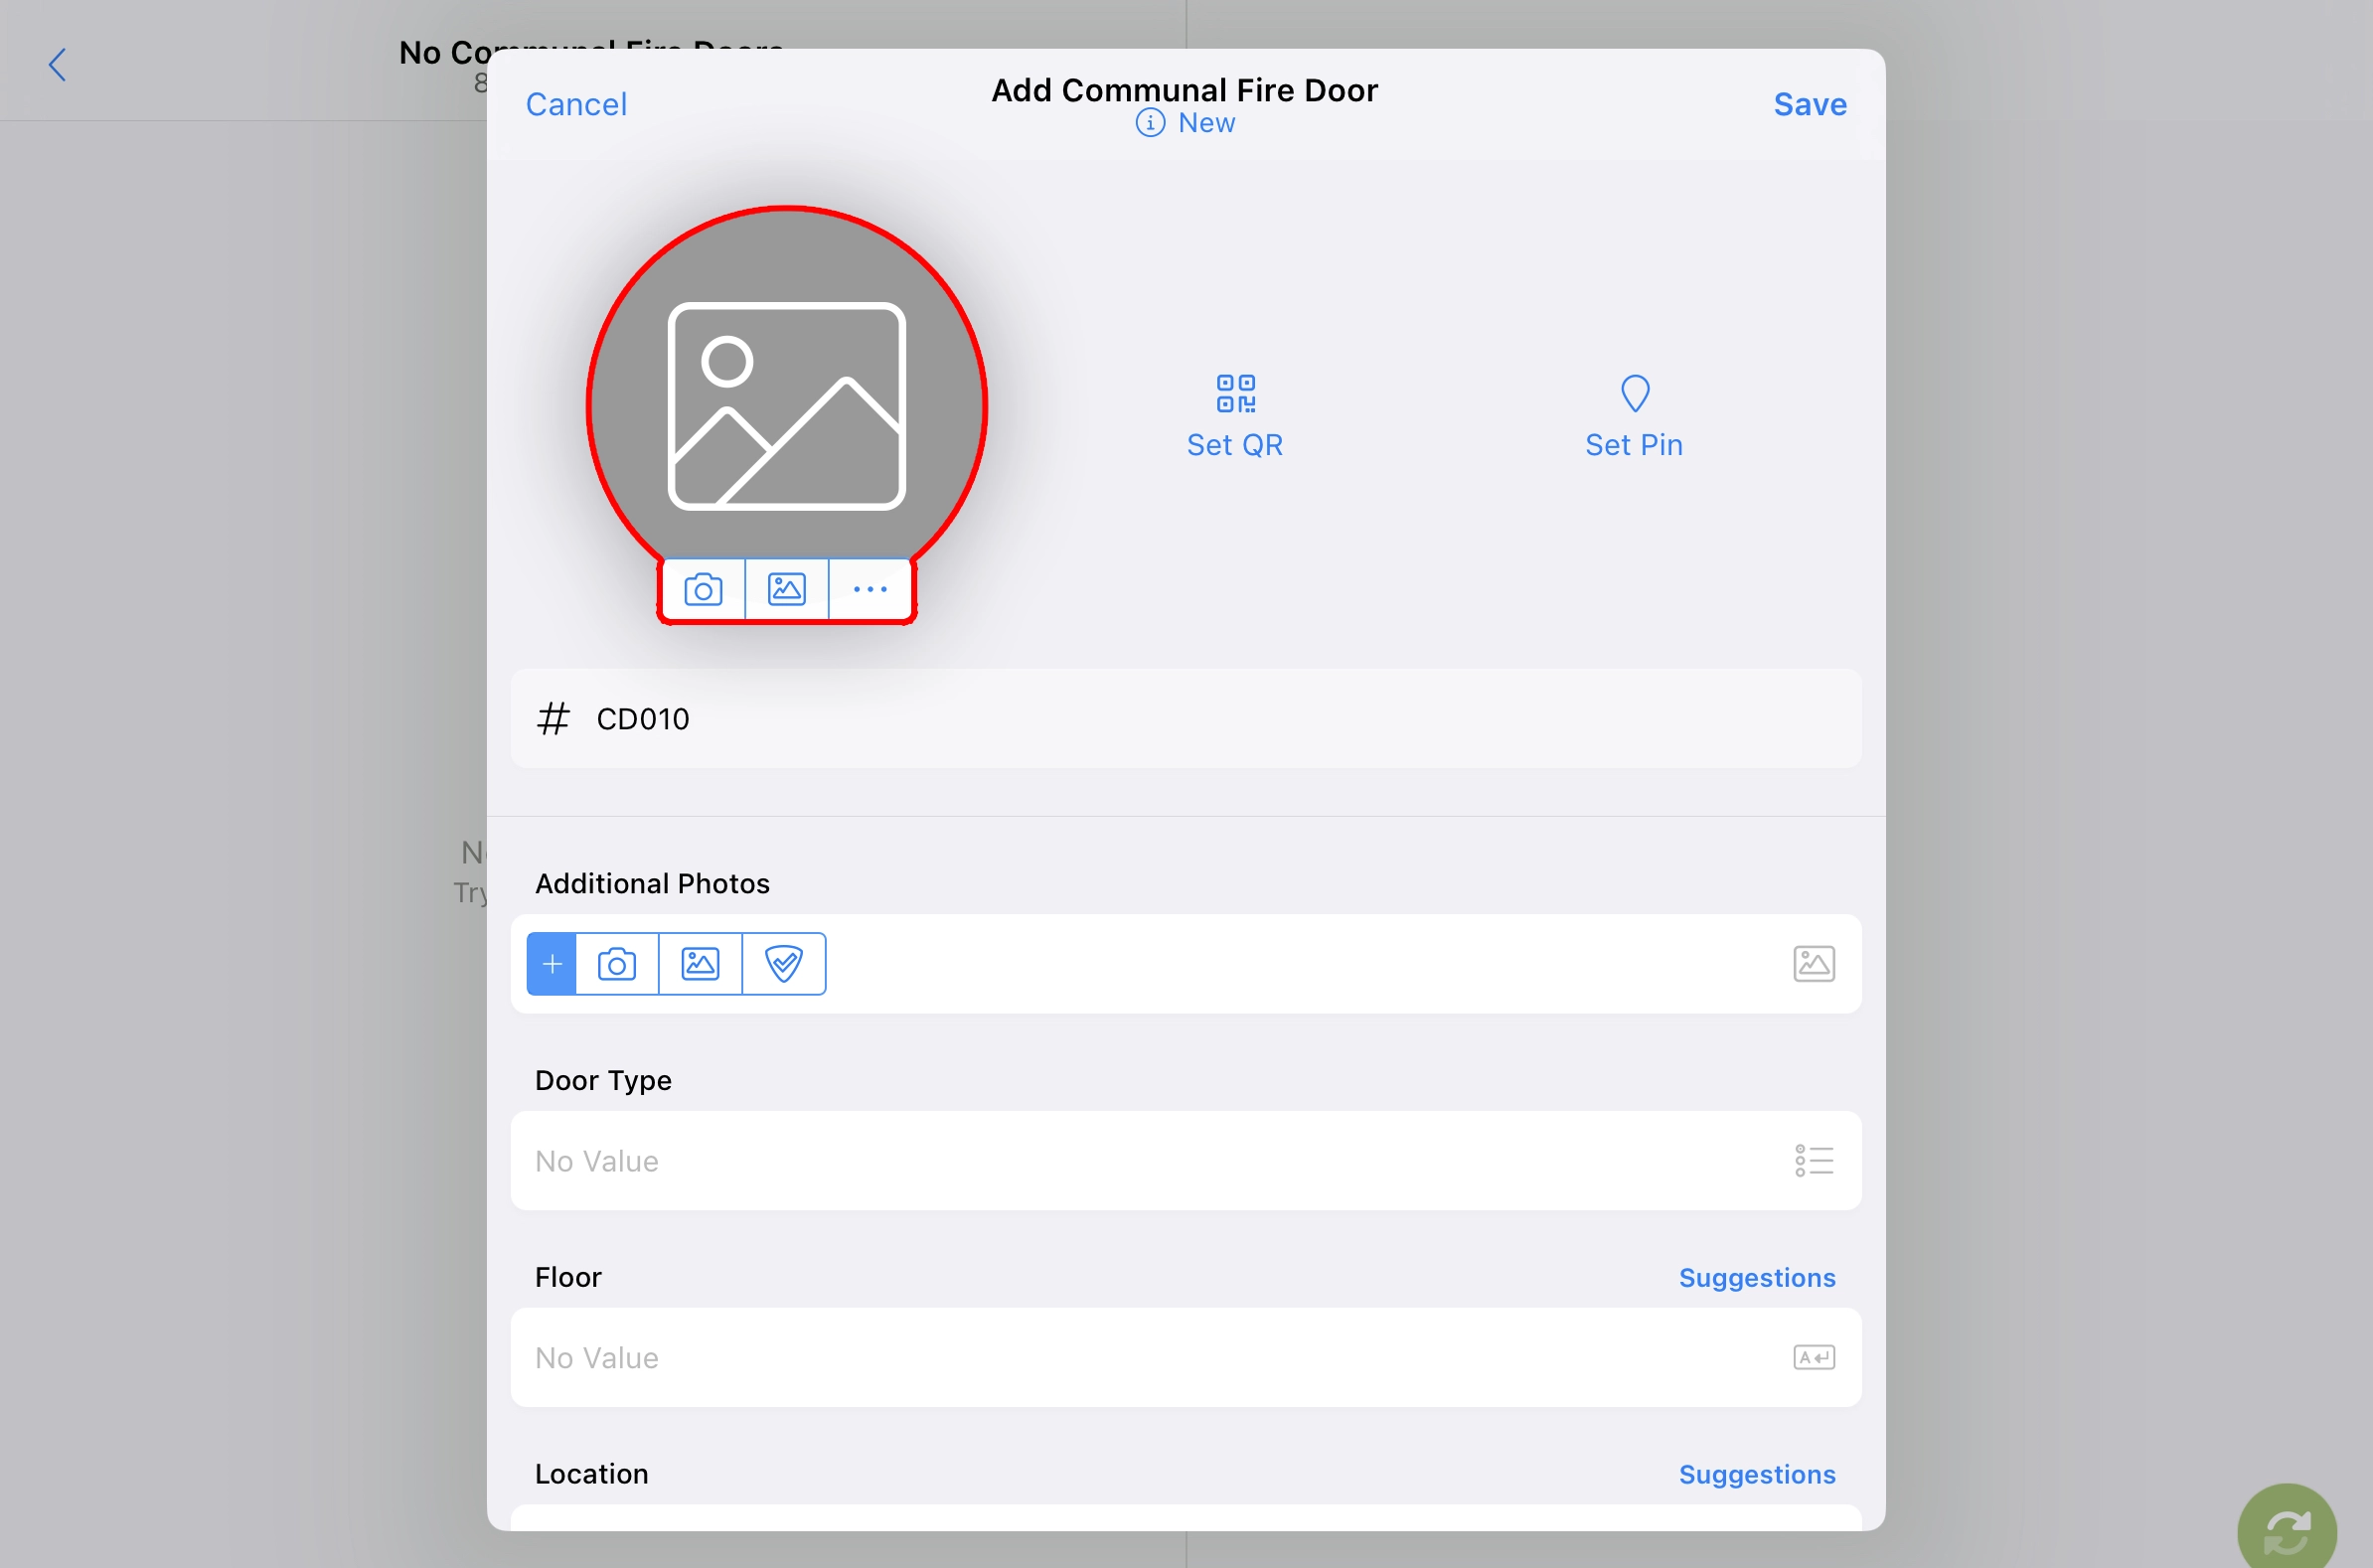
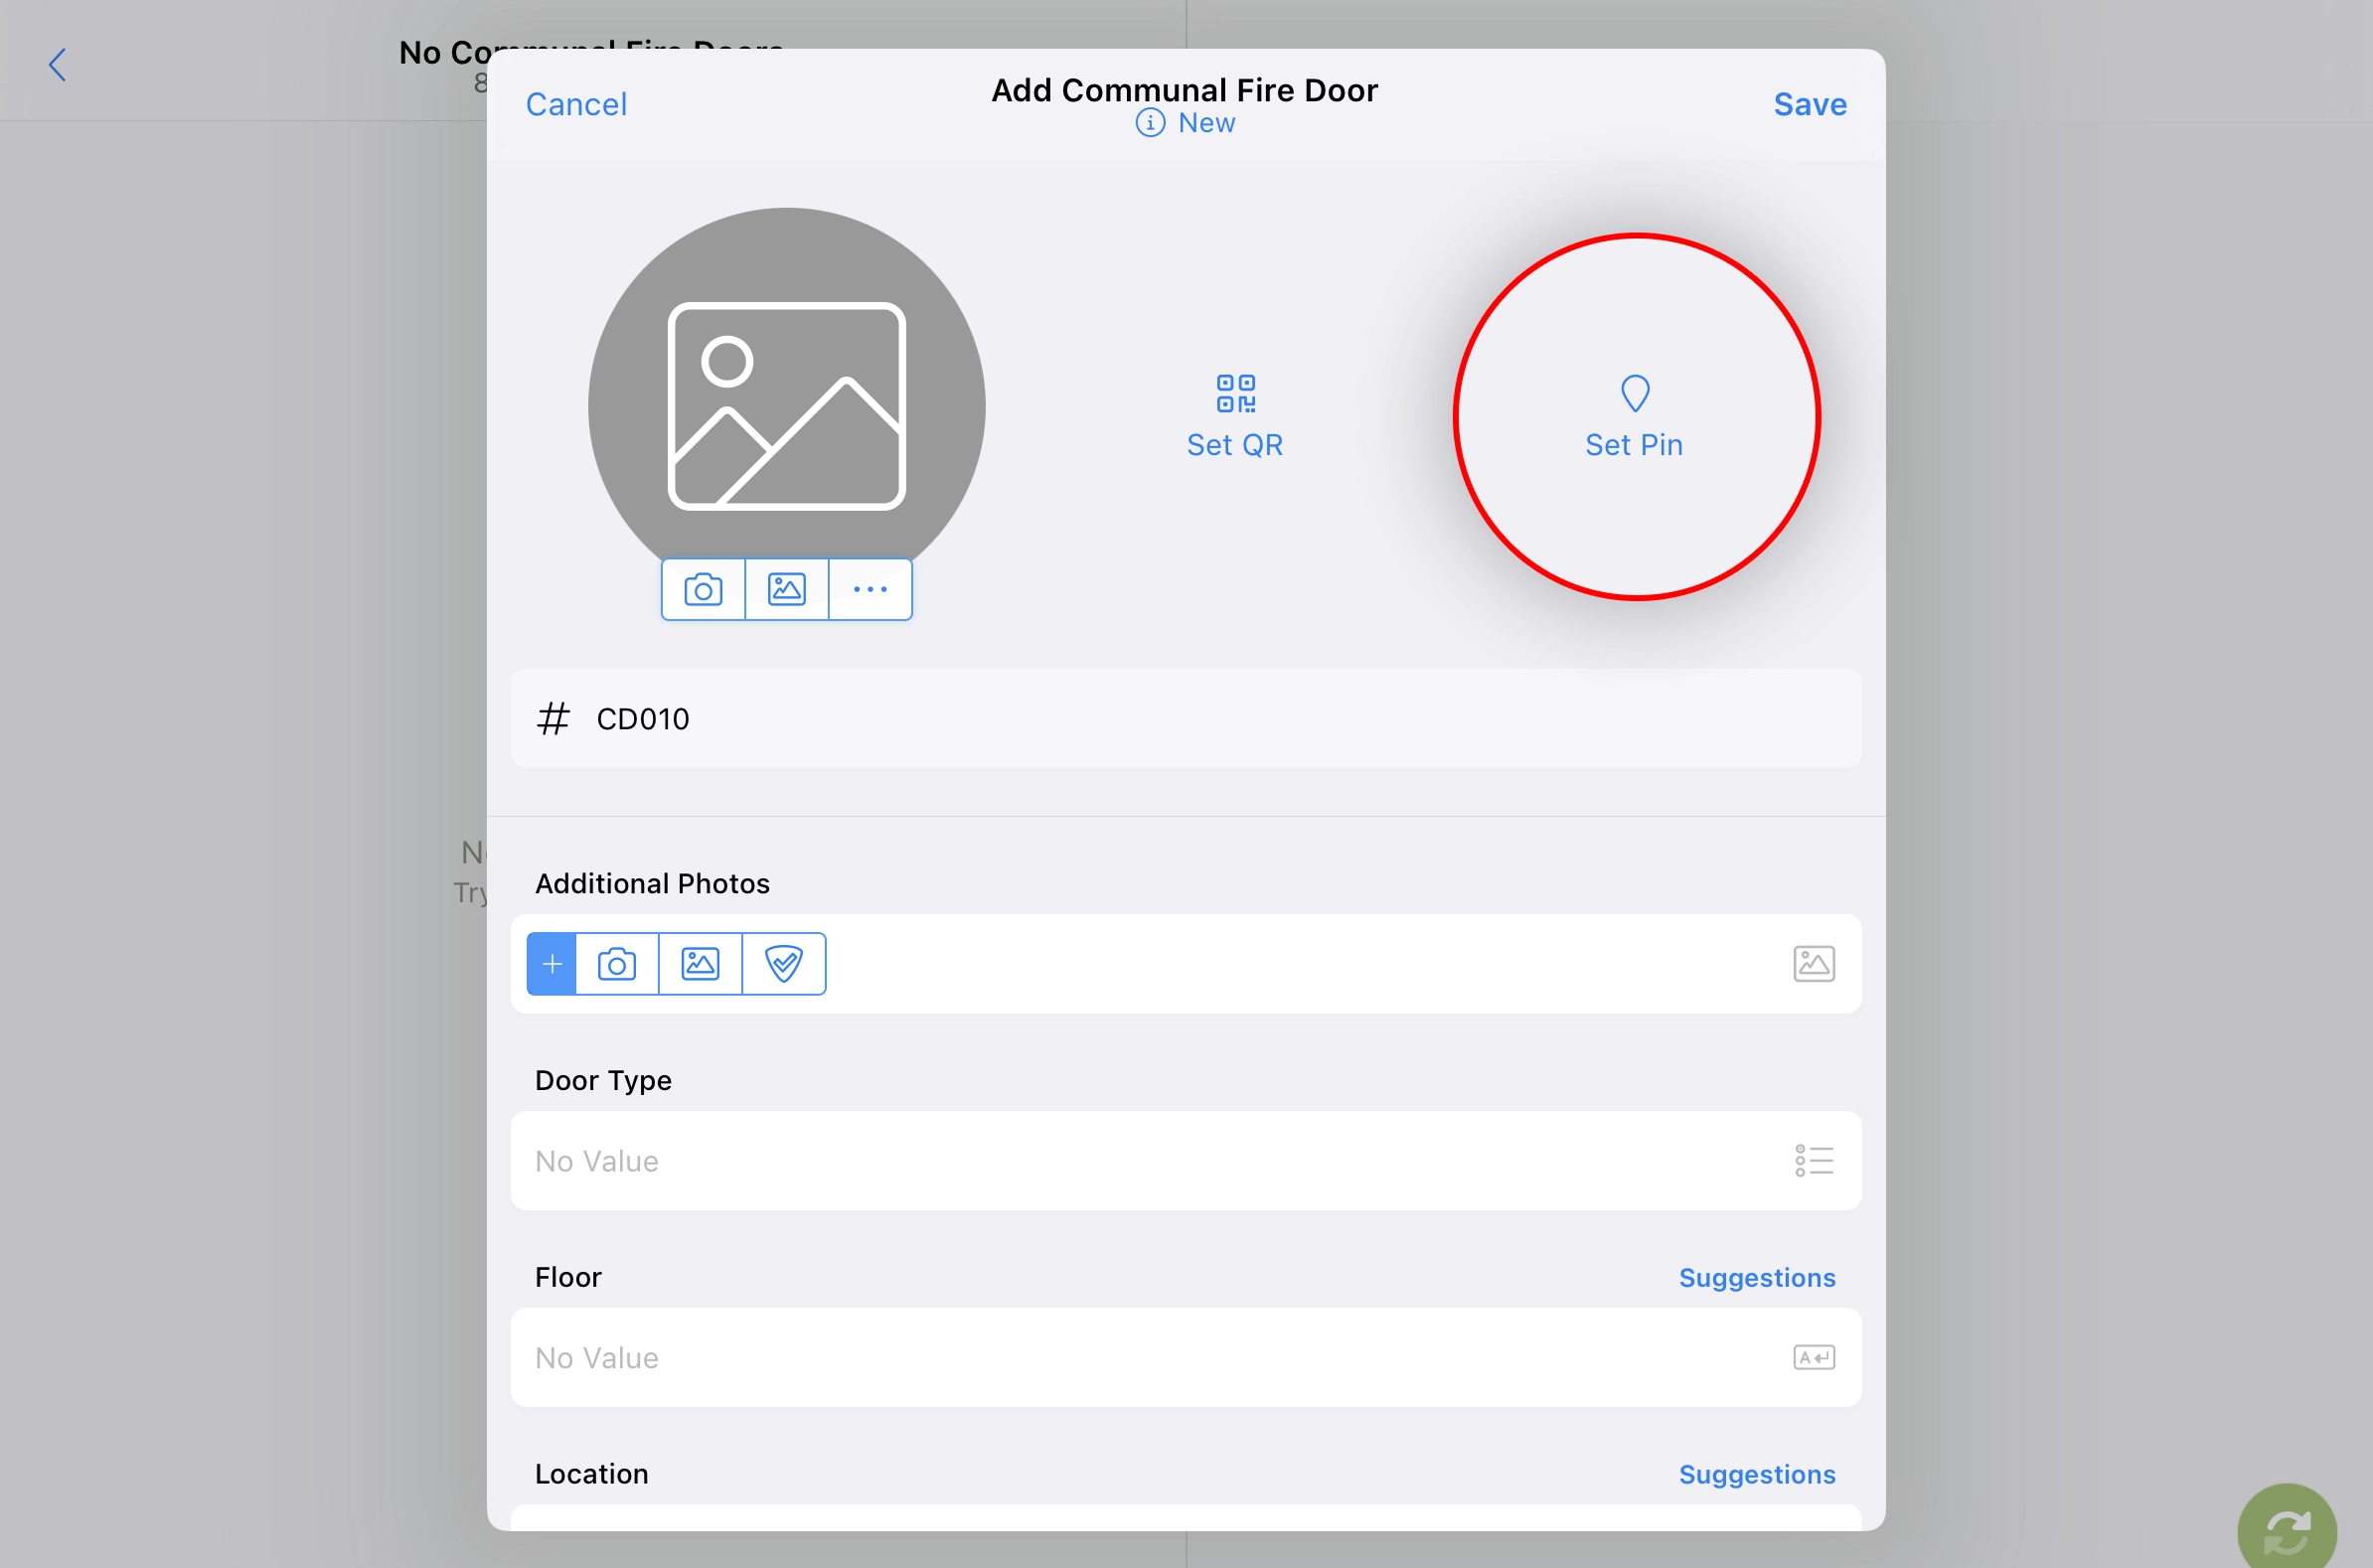
A repeatable group of fields will pop up in a modal. Use the fields to take a photo of the door, link it to a QR code, pin its location on the floor plan and collect its specification information.

Add A Photo
- Press on the icon to use your device's camera
- Take a photo of the entire door
- Press Use Photo
or
- Press the icon to add a photo from your device's photo library
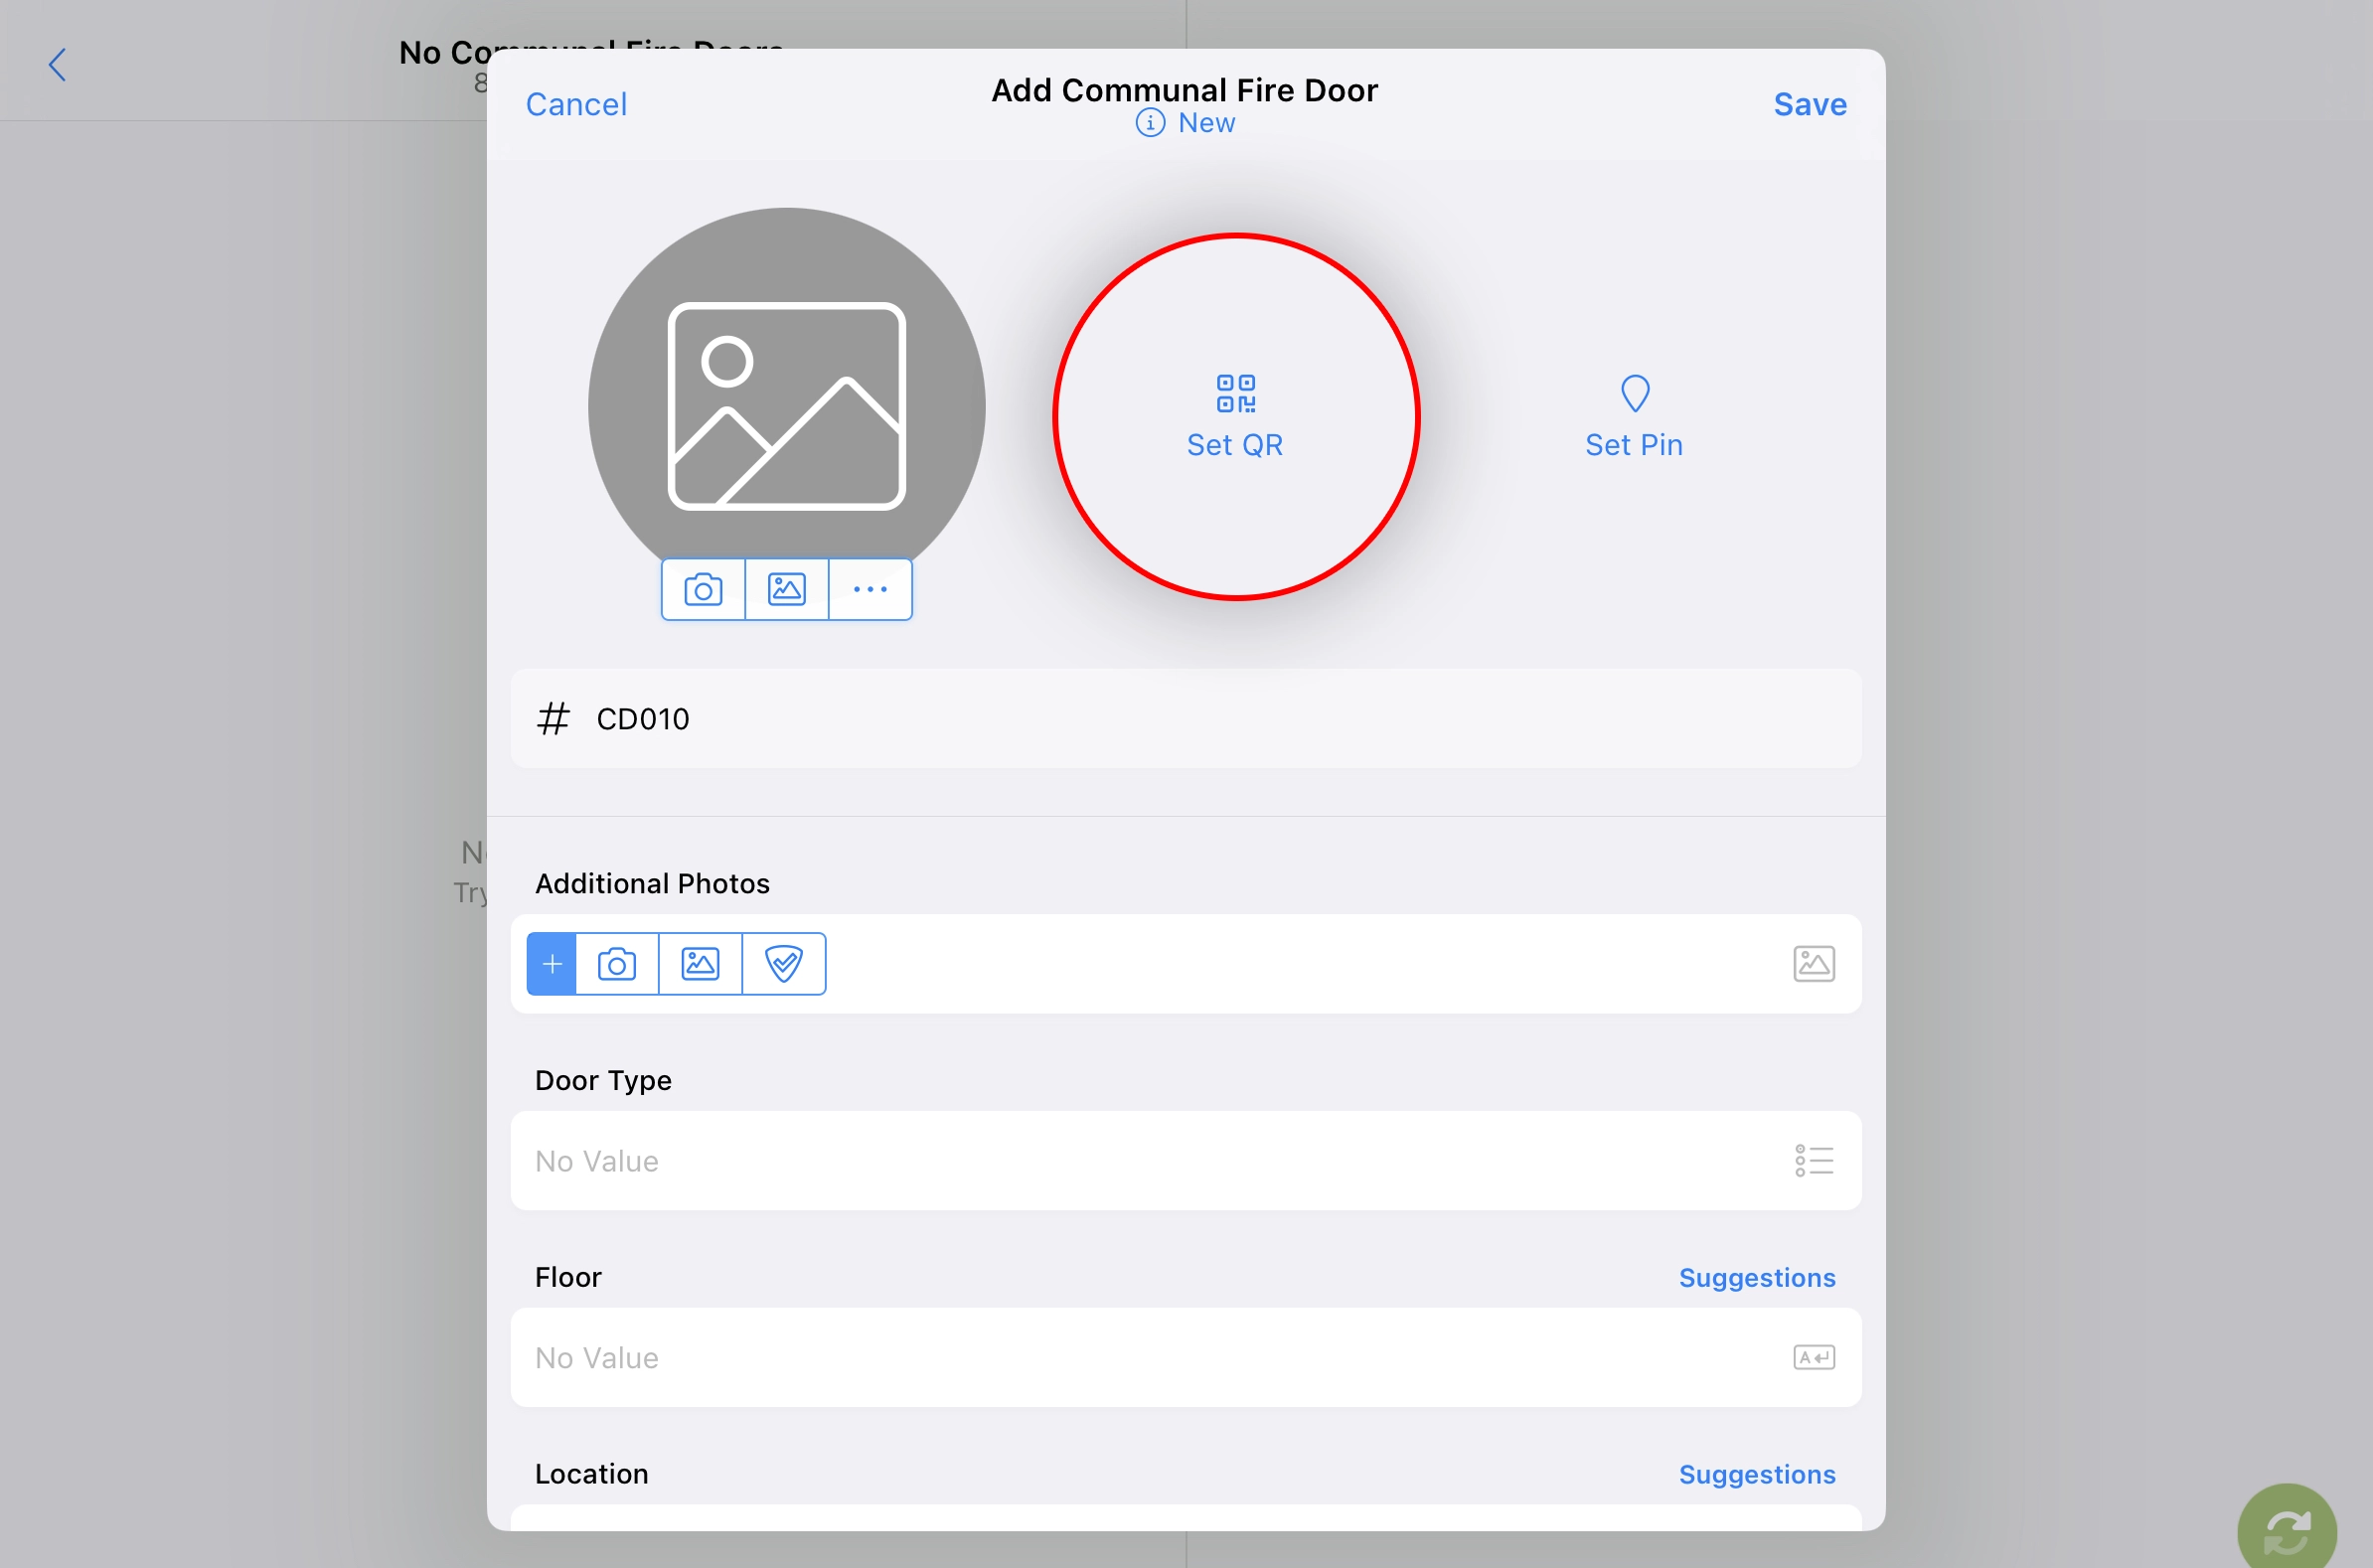
Link A QR Code
It's common for surveyors to attach QR code labels to doors. The QR code labels can be linked to door data held in RiskBase. Once linked, a unique QR code label can be scanned by a surveyor, during a future survey, to recall a particular door.
QR codes can also act as links to our resident engagement portal. When a resident scans a QR code with their mobile device, they are taken to a webpage showing the latest information about the door and wider building.
- Press the QR code field to bring up the QR code scanner
- Point your device's rear camera at a QR code
The scanner will quickly make a connection between the QR code and the data held in RiskBase.
Pin Location On A Floor Plan
- Press the icon to show the floor plans associated with this property
- Press the icon to select the correct floor plan
- Press anywhere on the floor plan to drop a pin.
Use pinch and zoom on floor plans to get accurate with your pin locations.
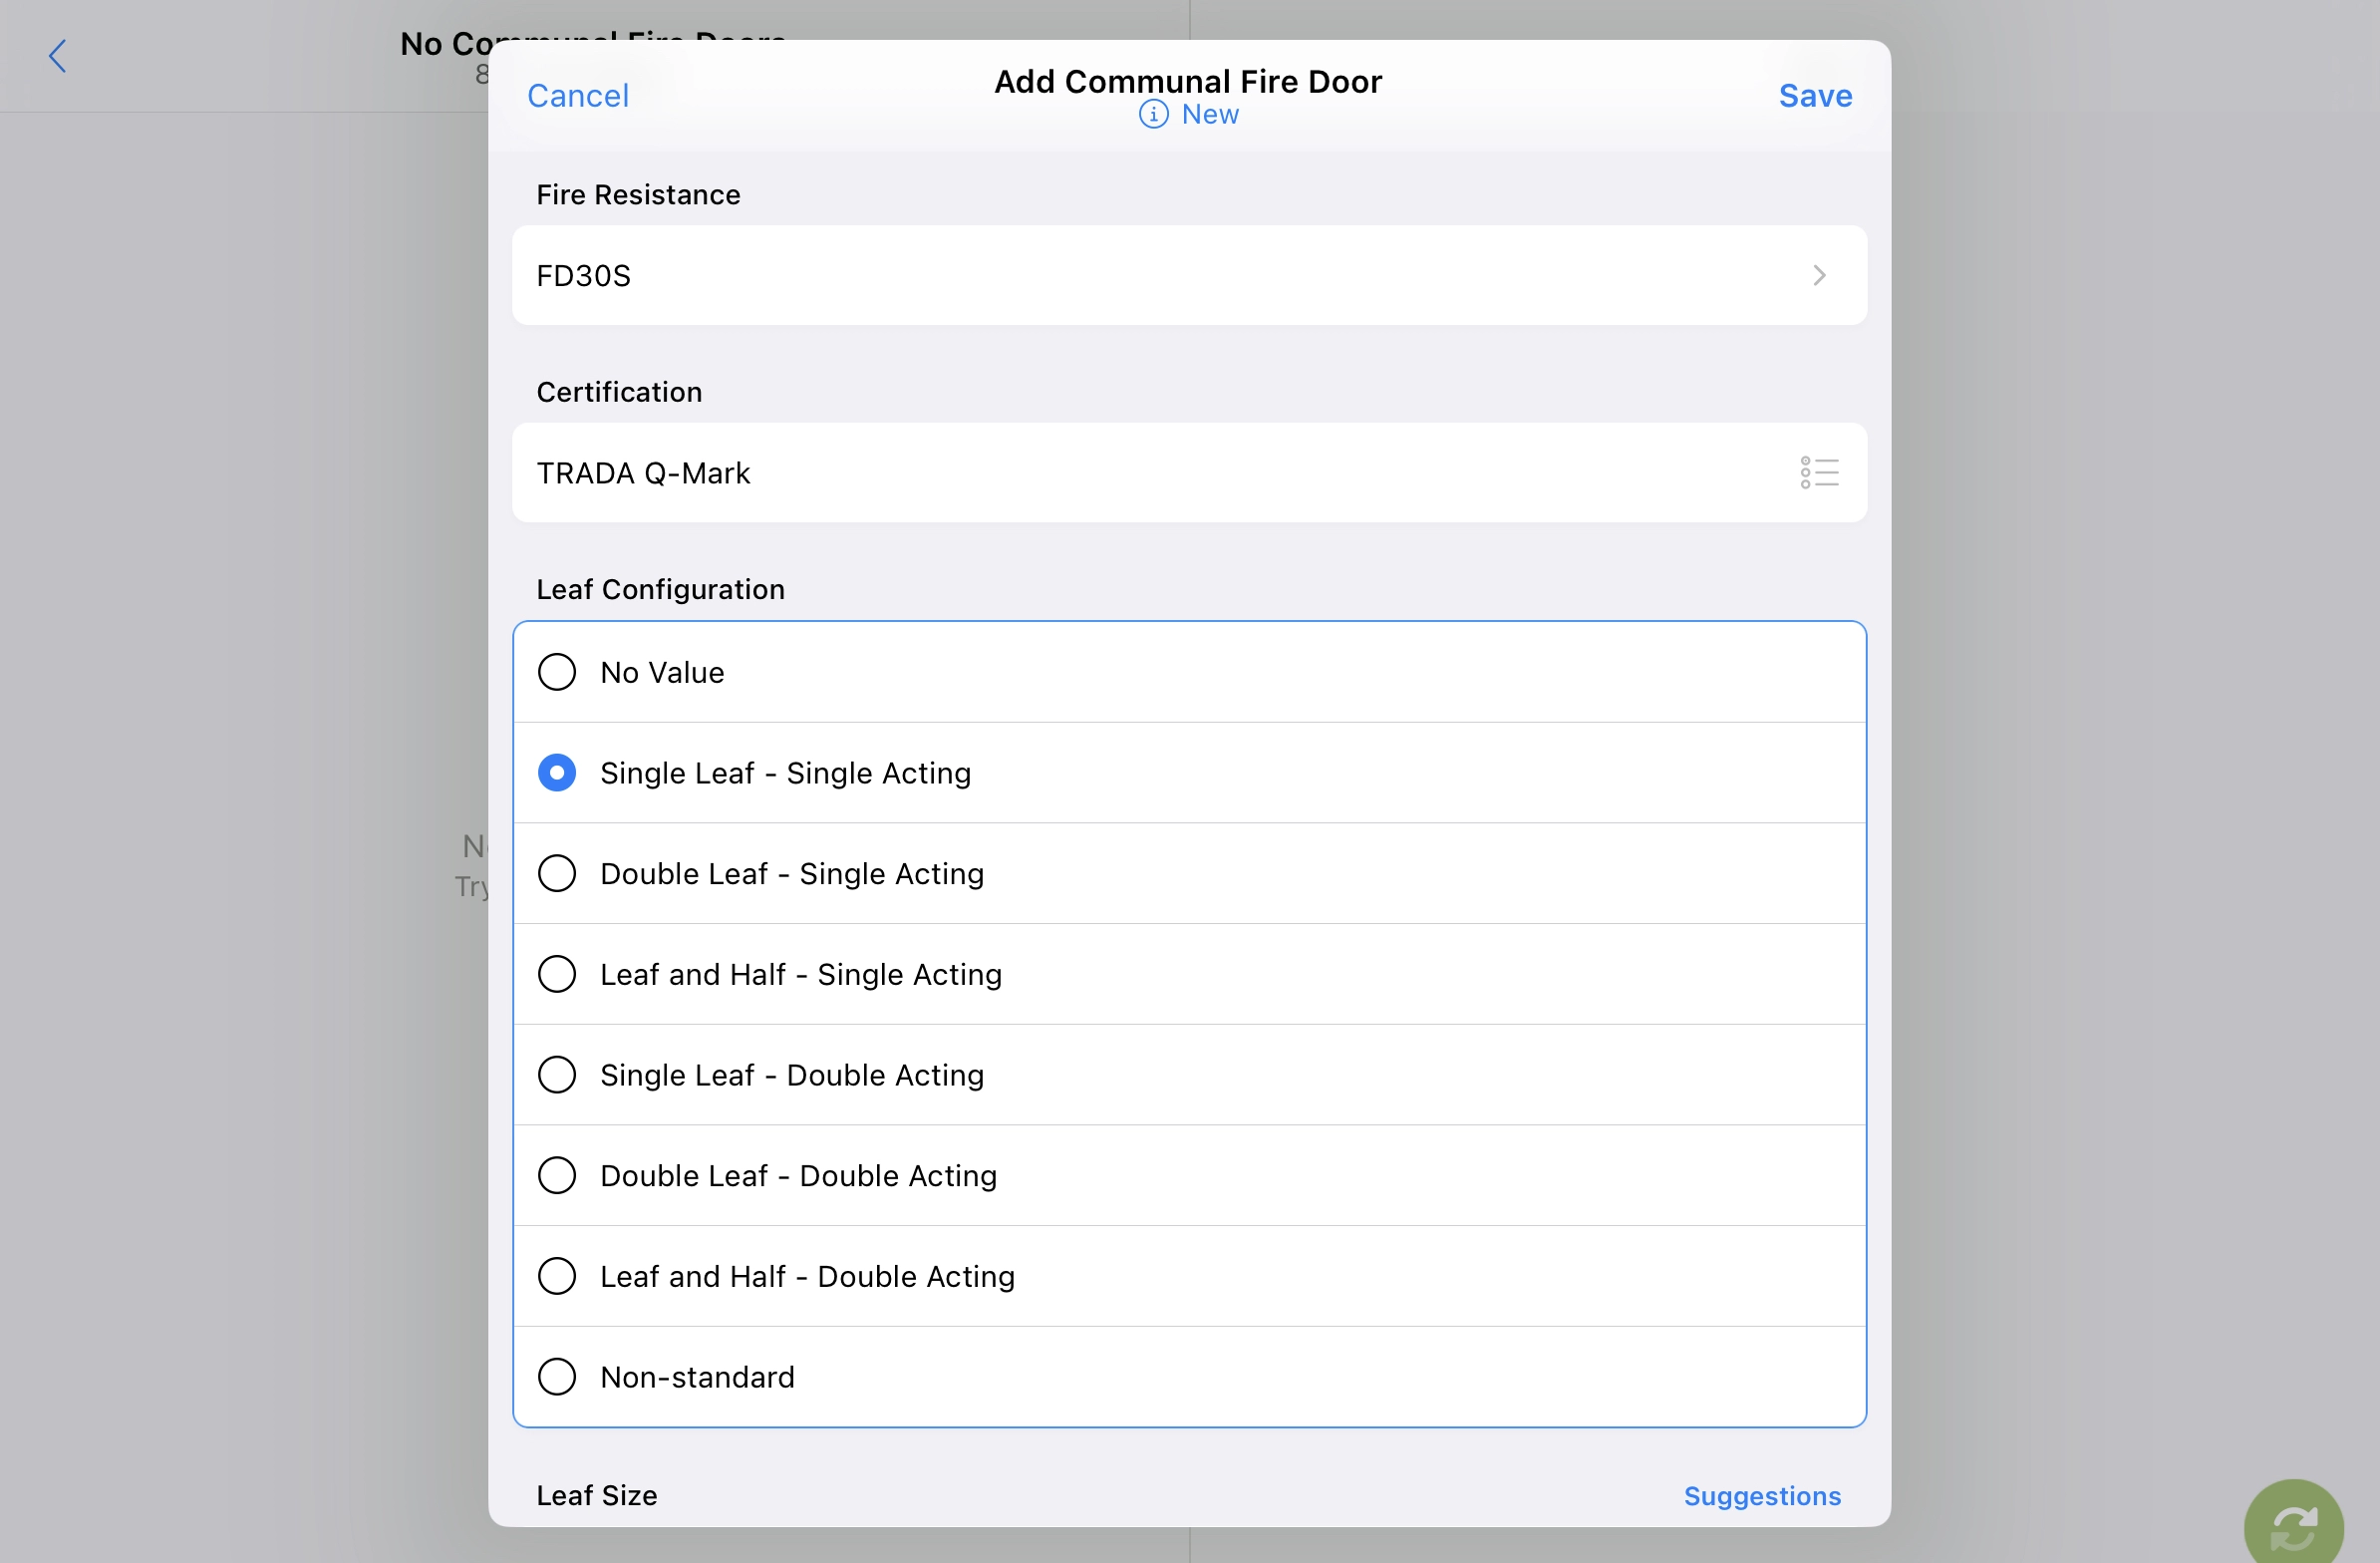
Collect Specification Information
Use the combination of text, drop-down, multi-select and number fields to collect the specification of the door.
Add Existing Doors
Once a door has been featured in an initial survey, it can be included for review in future surveys.
Often, the door specification will have been collected during the initial survey so you only need to be concerned with the door condition.
You don’t have to include every door of a particular property in a survey. Add only the doors you want to appear in the report.
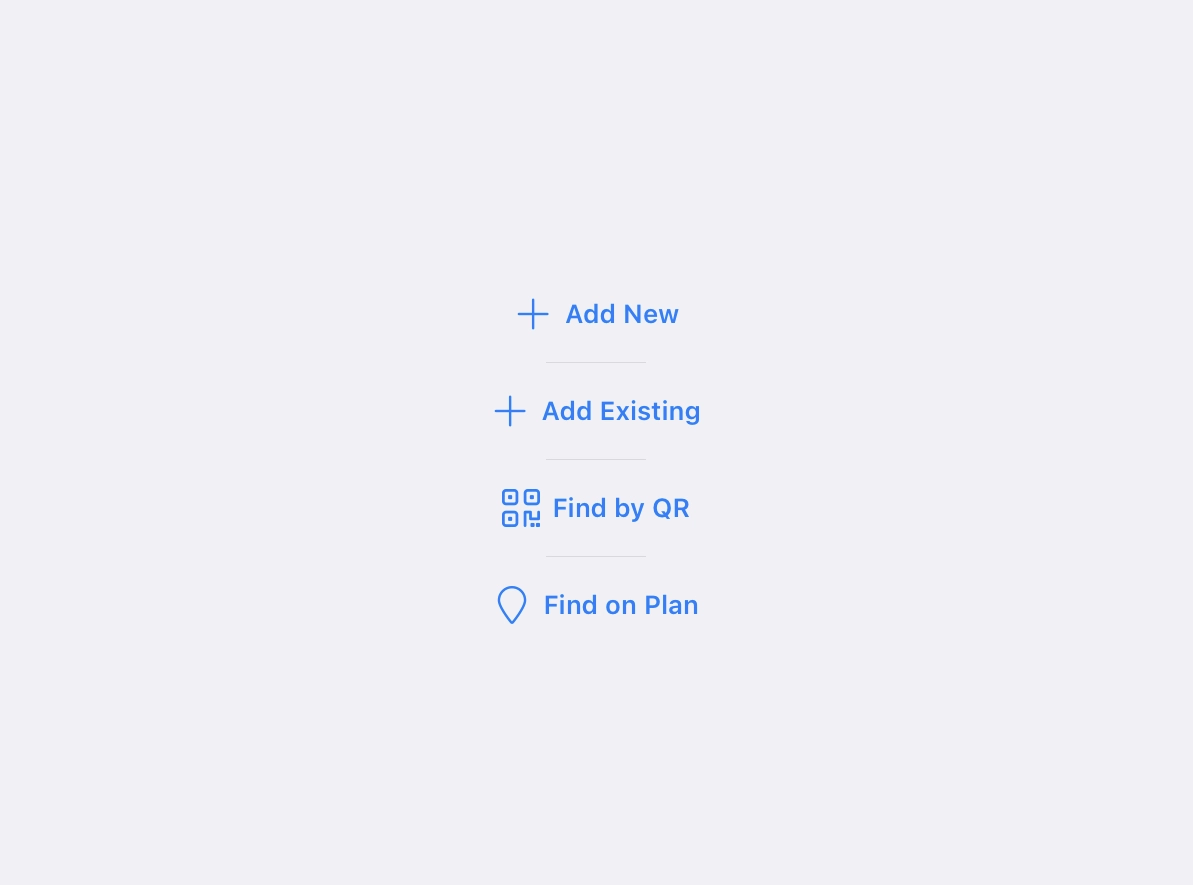
Add An Existing Door
- Press on the door type you want to add, e.g. Communal Fire Door
- Press the + button or + Add Existing
- Press on one or more doors to select them
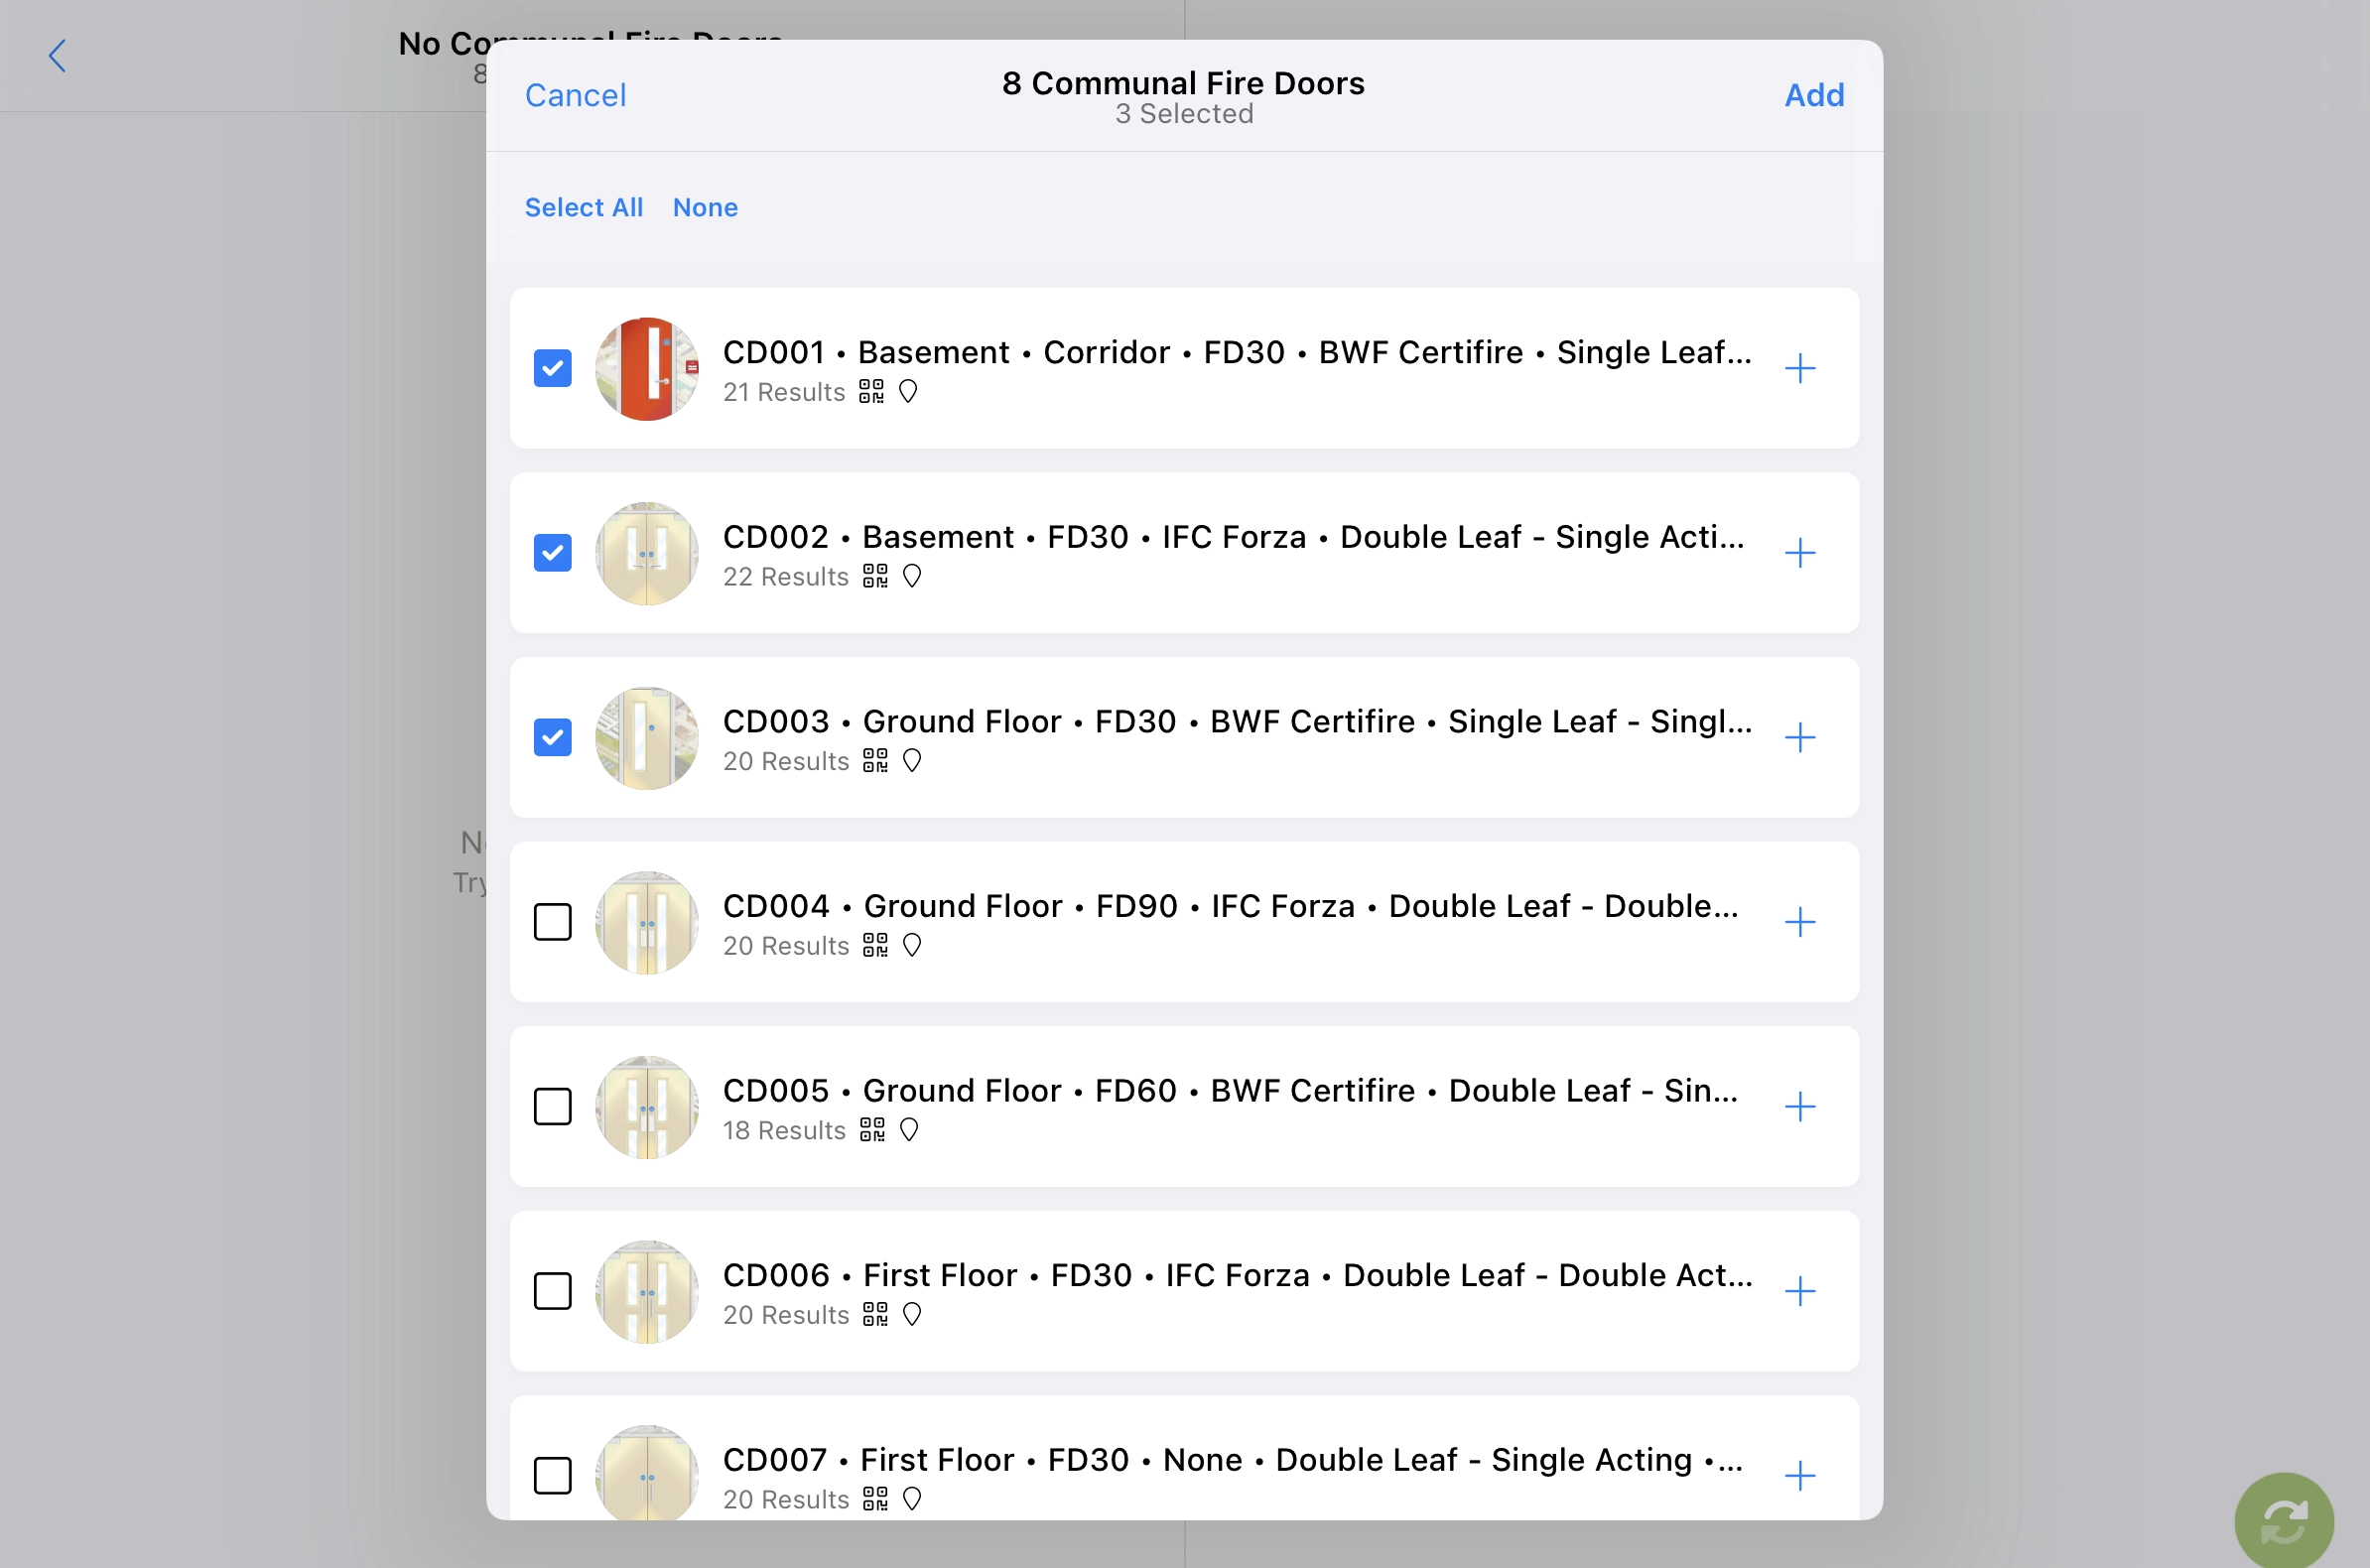
- Press + Add
The specification information collected during previous surveys can now be reviewed and updated.
Recall Doors Using QR Codes
If a door has a QR code label attached to it, and it's been linked to RiskBase, you can recall the door in RiskBase by scanning the QR code label.
- Press on the door type you want to add, e.g. Communal Fire Door
- Press the icon to bring up the QR code scanner
- Point your device's rear camera at the QR label
The door will pop up in a modal. All the information held about this door will be shown in the fields.
Recall Door From Floor Plan
If a door's location has been pinned on a floor plan, you can recall the door by searching the plan.
- Press the icon to show the floor plans associated with this property
- Press the icon to select the correct floor plan. You'll only see floor plans that have doors added to them
- When you see the door you want to add, press on it and the pin will turn green
- Press Done (top-right)
The door will pop up in a modal. All the information held about this door will be shown in the fields.
Review Door Information/Specification
Depending on the kind of survey and your level of access; some of the fields will be editable, while other will be read-only.
You make changes to any editable field. The changes to this information will be updated on the asset, once the survey has been approved.
Access Issues
Whether a door is locked, the occupant does not answer or the occupant declines access, it's important to document any issues accessing doors during your surveys.
You may be able to perform a visual inspection and collect some information but you won't be able to ascertain key condition information, such as: Does the door closer work correctly? or Are intumescent seals fitted and in good condition?
Use the question Inspection Type to document the level of access achieved.
Answer the Inspection Type Question
- Press the question Q. Inspection Type. The question can be found below each door in the list of doors
- Select one of the answers: Full Access, Door Locked, Occupant Did Not Answer...
- If the answer given is not Full Access, a suggested action will appear: Complete a full access inspection of the door. To add the suggested action: press on it, modify as required and press Save
Perform Condition Check
The door condition check is a list of control statements. Complete the check by agreeing or disagreeing with the statements.
- Press on Door Condition Check. The checklist can be found below each door in the list of doors
- Agree or Disagree with each statement in the door condition checklist
If you disagree with any statement in the checklist, recommend a remedial action.
Recommend Remedial Actions from Suggestion
You may see suggested actions appear as you answer the checklist. To use them:
- Press on one of the suggested remedial actions (beneath the condition checklist)
- The action has a default What to do, Why is this required, Category, Severity and Timescale. Modify any one of these if required
- Take a photo or add one from your photo library to provide extra context to the action
- Press Save
Recommend Remedial Actions from Blank
If no actions are suggested or non of them a relevant, you can create blank remedial actions:
- Press + Add Action (beneath the condition checklist)
- Provide a What to do, Why is this required, Category, Severity and Timescale
- Take a photo or add one from your photo library to provide extra context to the action
- Press Save
Submit A Door Survey
Once you have added all the new and existing doors you want to include in your survey, you are ready to submit it for QC and Approval.
- From the main assessment page, scroll up and press on the Overview
- Press Submit
- Press the green button (bottom-right) to send the survey to RiskBase cloud