Assessments
Start an Assessment
- Press on an asset.
- Press Fire Summary.
- Press + Create Fire Risk Assessment.

Scheduled Assessments
You can see if an assessment is scheduled on the asset page. The assessment type and due date is displayed.

Start a Scheduled Assessment
- Press on the asset.
In the example, an FRA is due on the 31st January 2022 and You're Assigned.
- Press + Create Fire Risk Assessment.

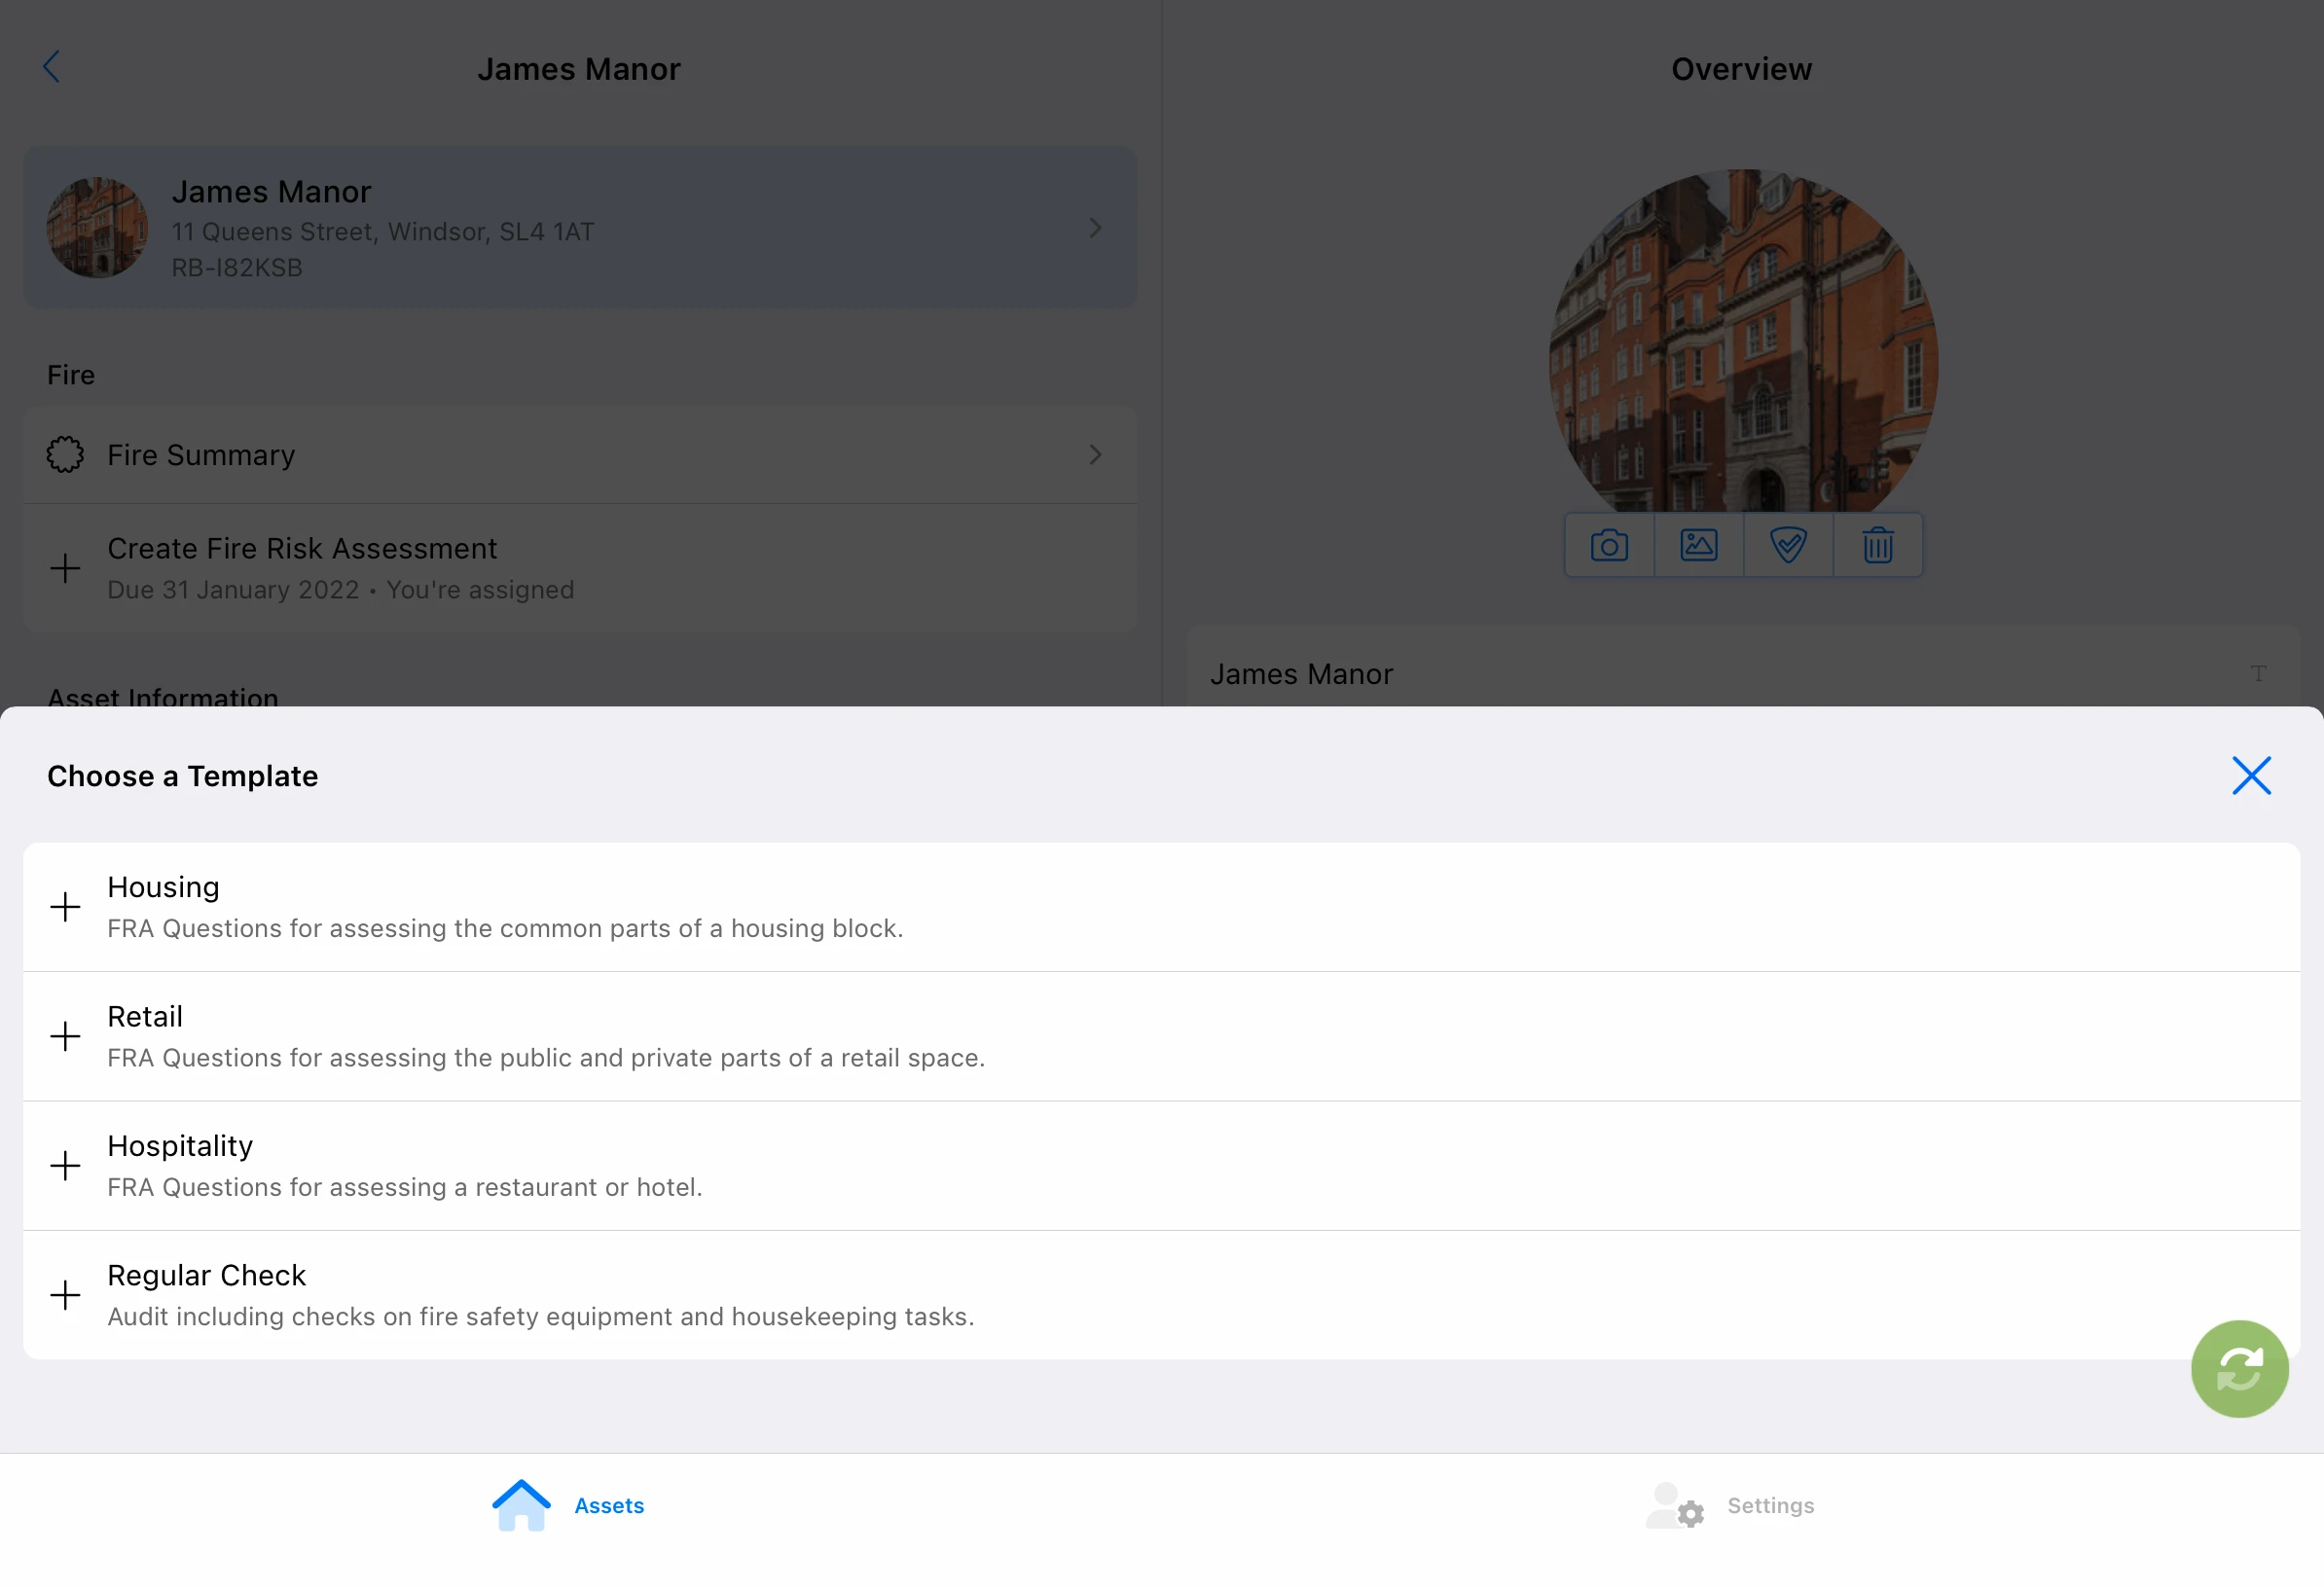
Select a Template
If you have access to multiple templates, choose one appropriate for the building being assessed.
- Press on a template.
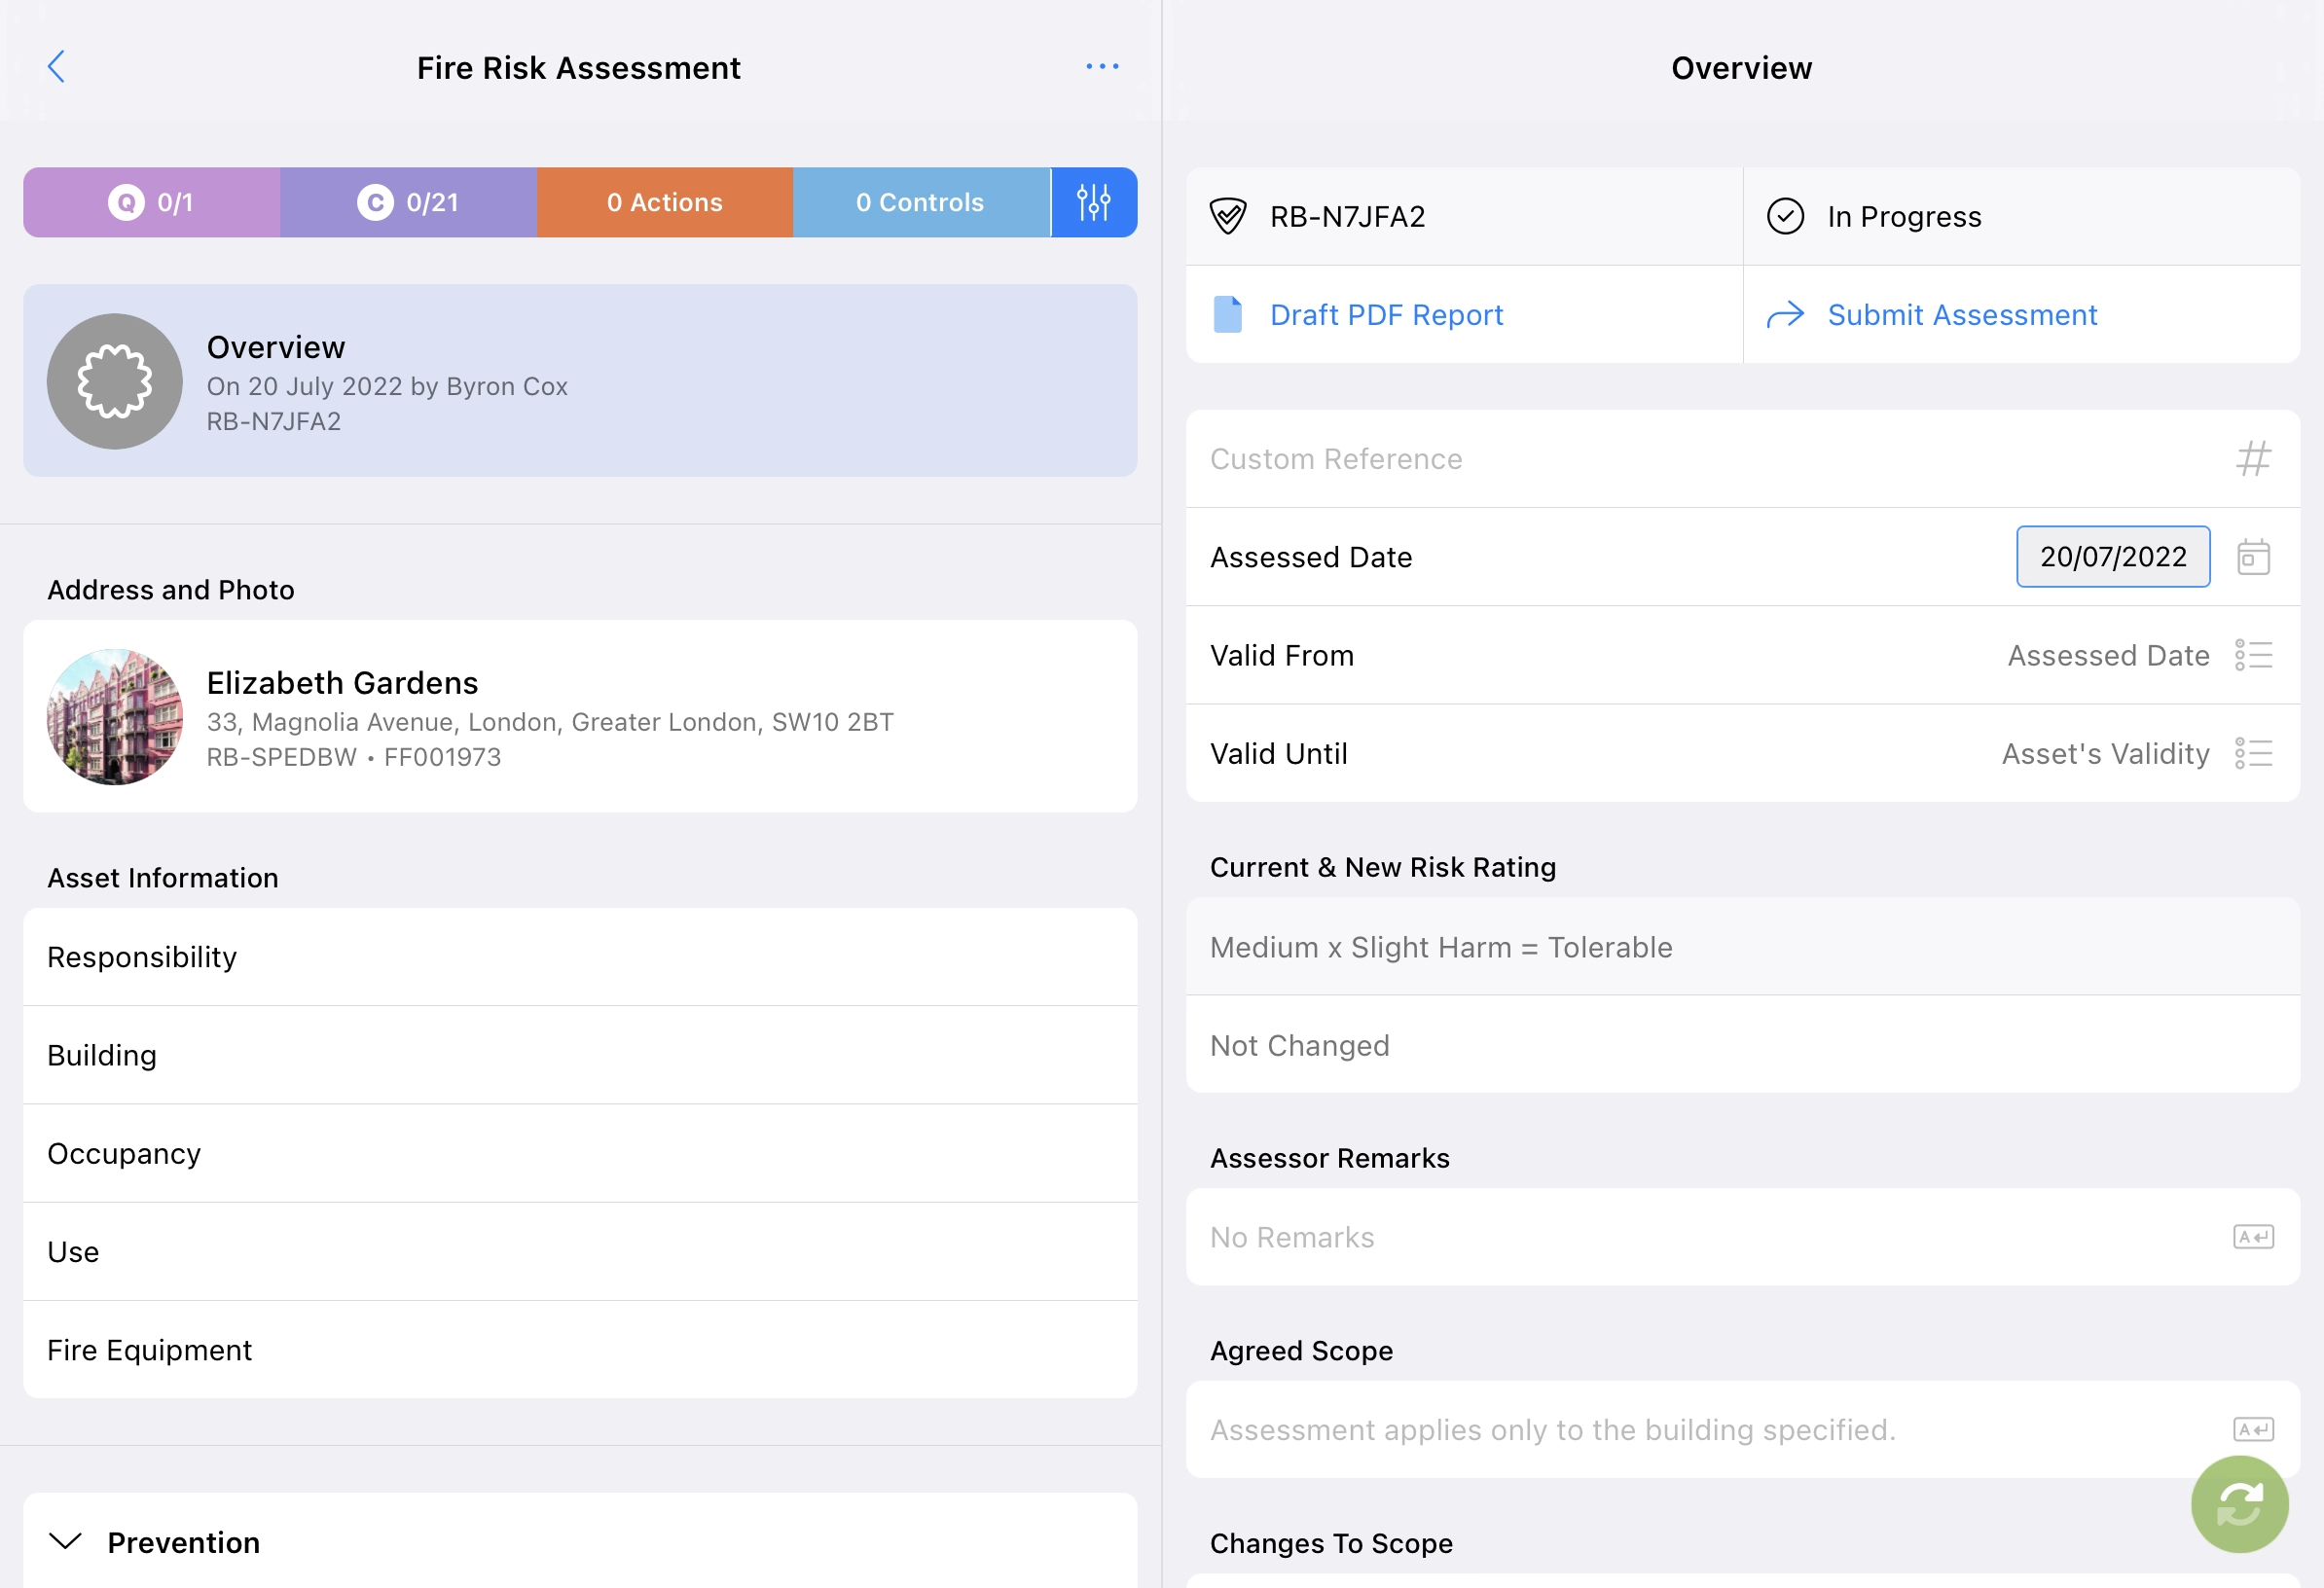
Assessment Layout
Tablet & Desktop Layout
The Assessment Navigation is on the left.
Use the navigation to get to the:
- Assessment Overview.
- Address & Photo.
- Asset Fields.
- Checklists & Questions.
- Actions & Controls
These sections open on the right.
Smartphone Layout
When you open an assessment, you land on the Assessment Navigation.
Use the navigation to get to the:
- Assessment Overview.
- Address & Photo.
- Asset Fields.
- Checklists & Questions.
- Actions & Controls
These sections open in new pages. Press the back button to return to the navigation.
List Options
Tailor the look and feel of the RiskBase assessment interface.
List options are available during assessment and QC. They allow you to change the layout of fields and questions to suit your workflow.
Show List Options
- Press the
 icon.
icon.
The settings icon can be found at the top of the assessment navigation screen.
The list options will pop up in a modal.

List Size
Fit more on your screen. Switch from normal to small to decrease the text size and amount of space fields and questions take up.
- Normal.
- Small.
List Details
Switch between default, Less and More to define the amount of information displayed under each question.
- Default shows a preview of the actions and controls, along with details of severity, timescale, categories and whether photos are added.
- Less shows a preview of the actions and controls only.
- More shows the full action and control text, along with details of severity, timescale, categories and whether photos are added.
Questions & Checklists
Hide or show questions and checklists based their status or answer:
- Show Unanswered.
- Show Negatively Answered.
- Show Positively Answered.
Actions & Controls
- Hide Actions & Controls collapses all the questions. This allows you to see more questions on your screen. Press on a question to expand and see the actions and controls.
- Show References adds the six digit RiskBase reference.
- Show New & Reviewed.
- Show Unreviewed.

- The RiskBase App remembers your preferences while you are signed in.
- In list options, the yellow dot indicates you have a non-default list option turned on.
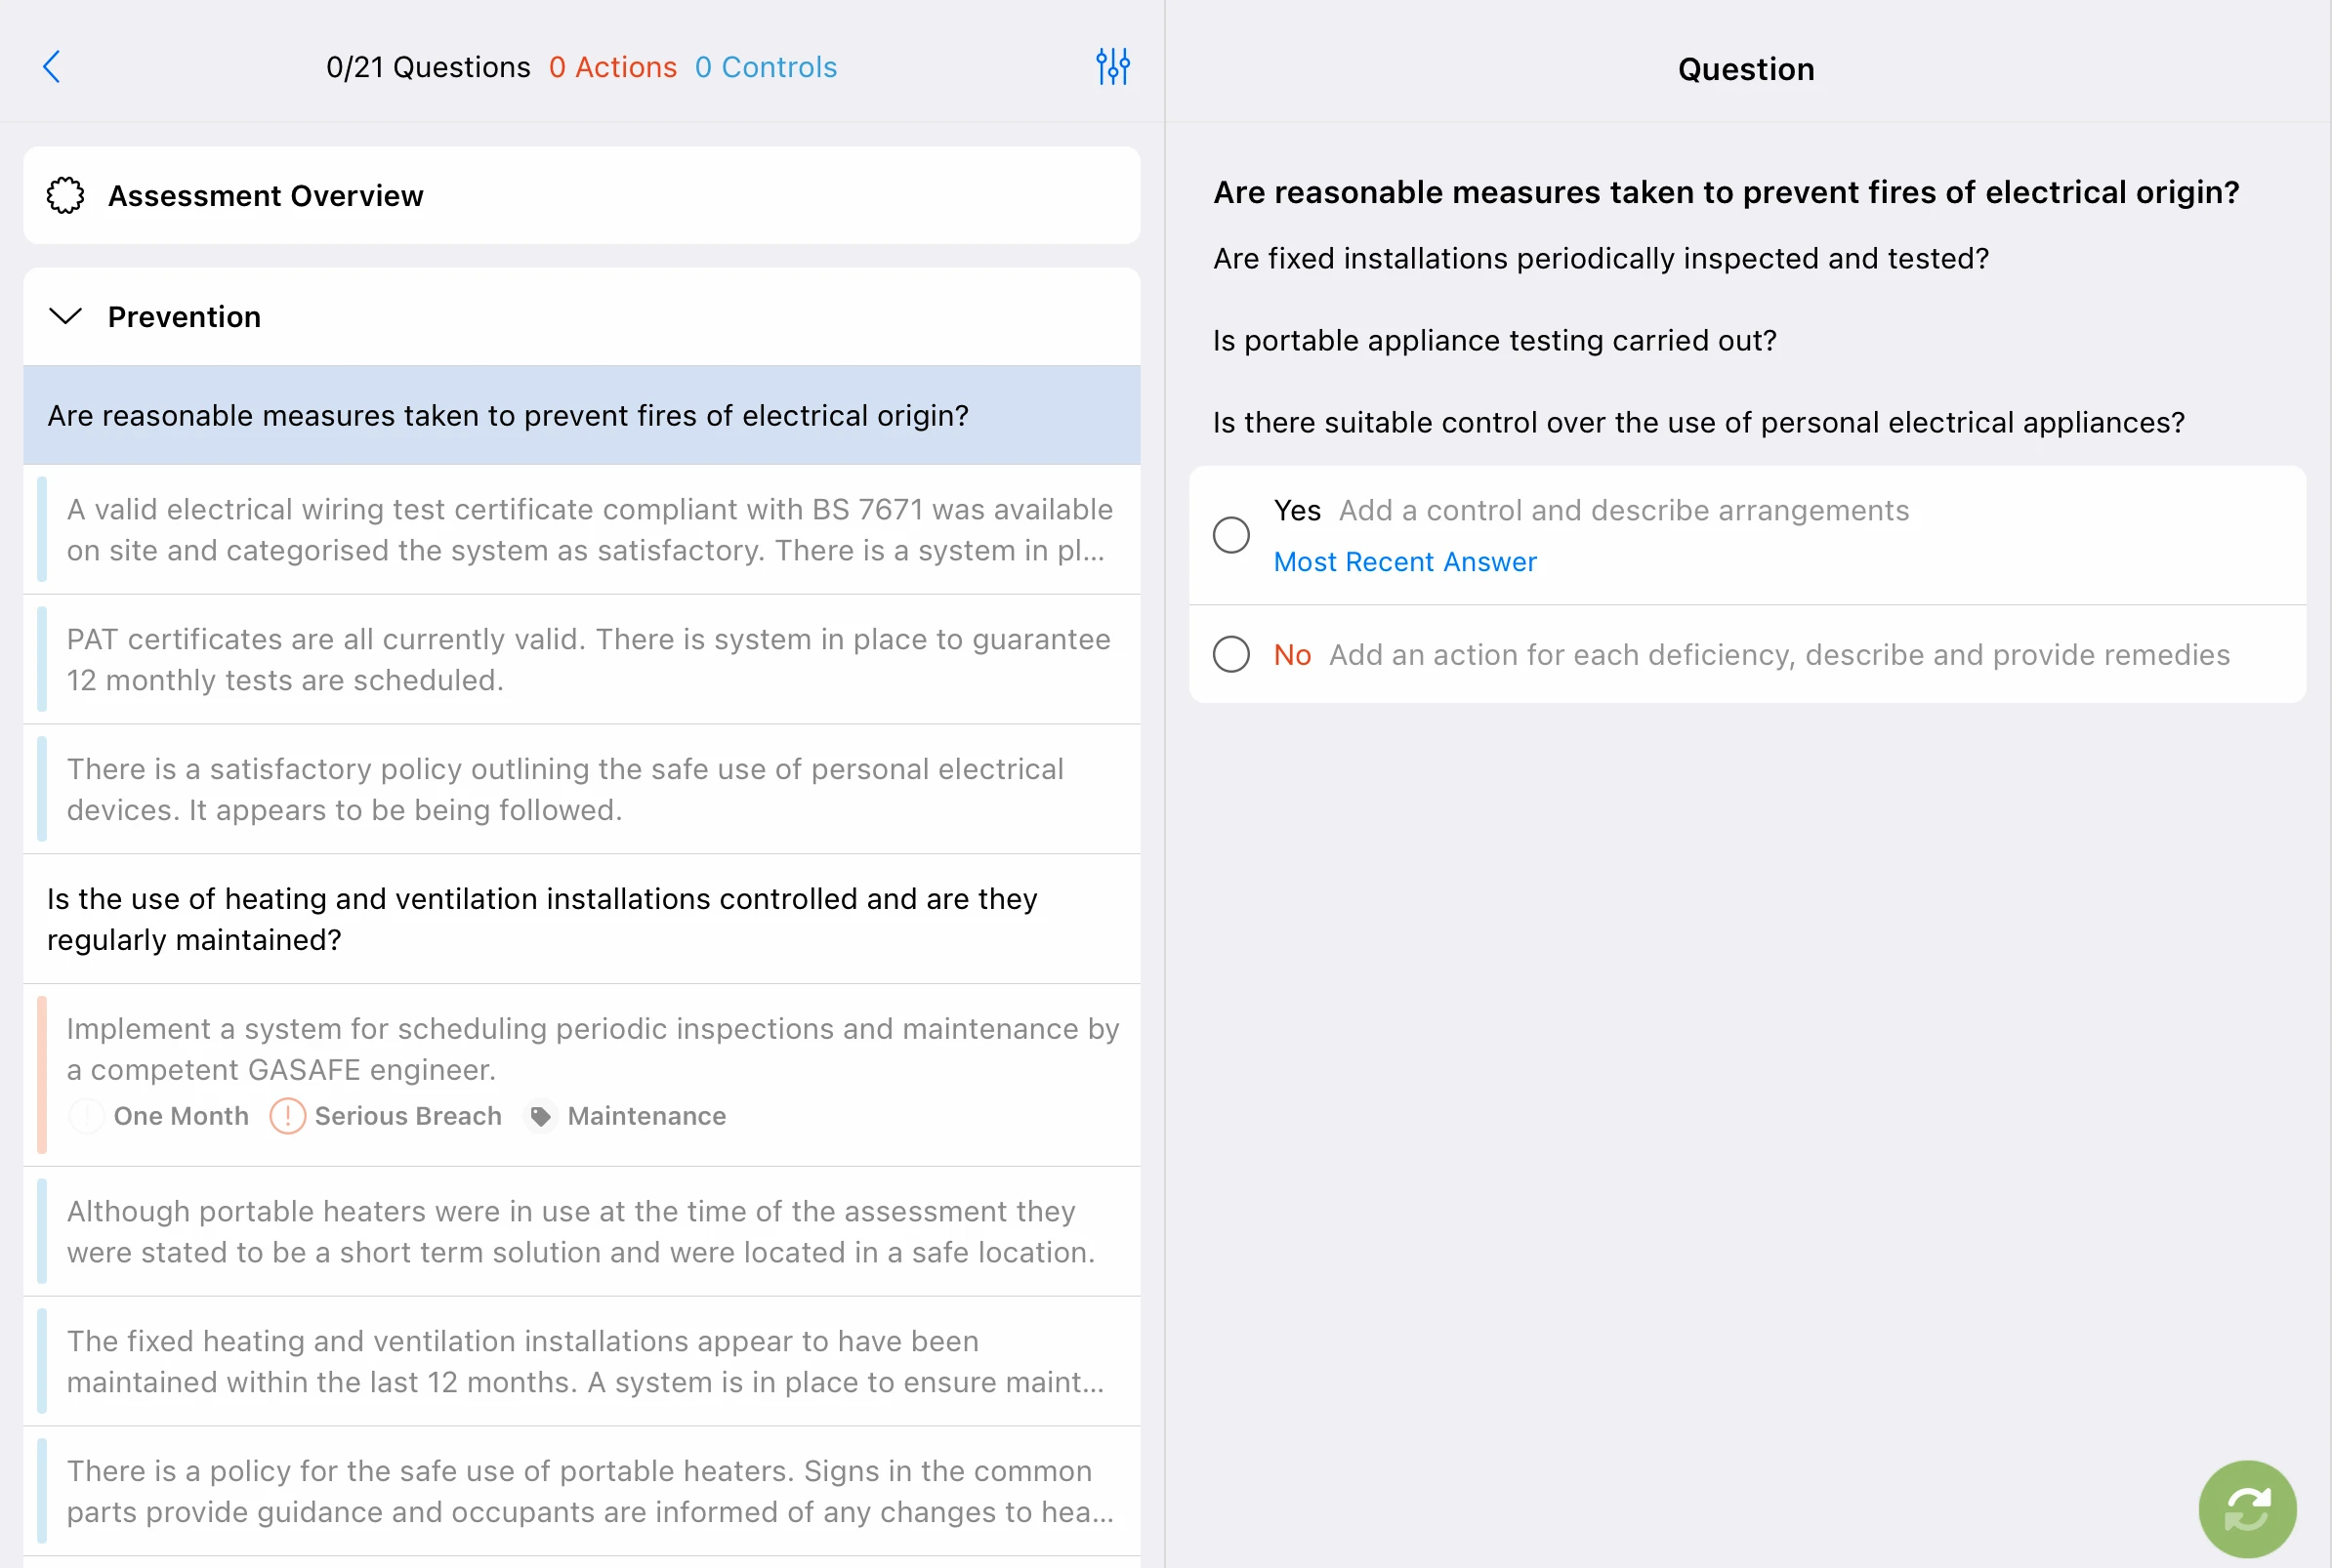
Answer Questions
- Press on a question.
- Tablet: The full question including a description will show on the right.
- Smartphone: The full question including a description will open on a new page.
- Read the question.
- Select one of the multiple-choice options.
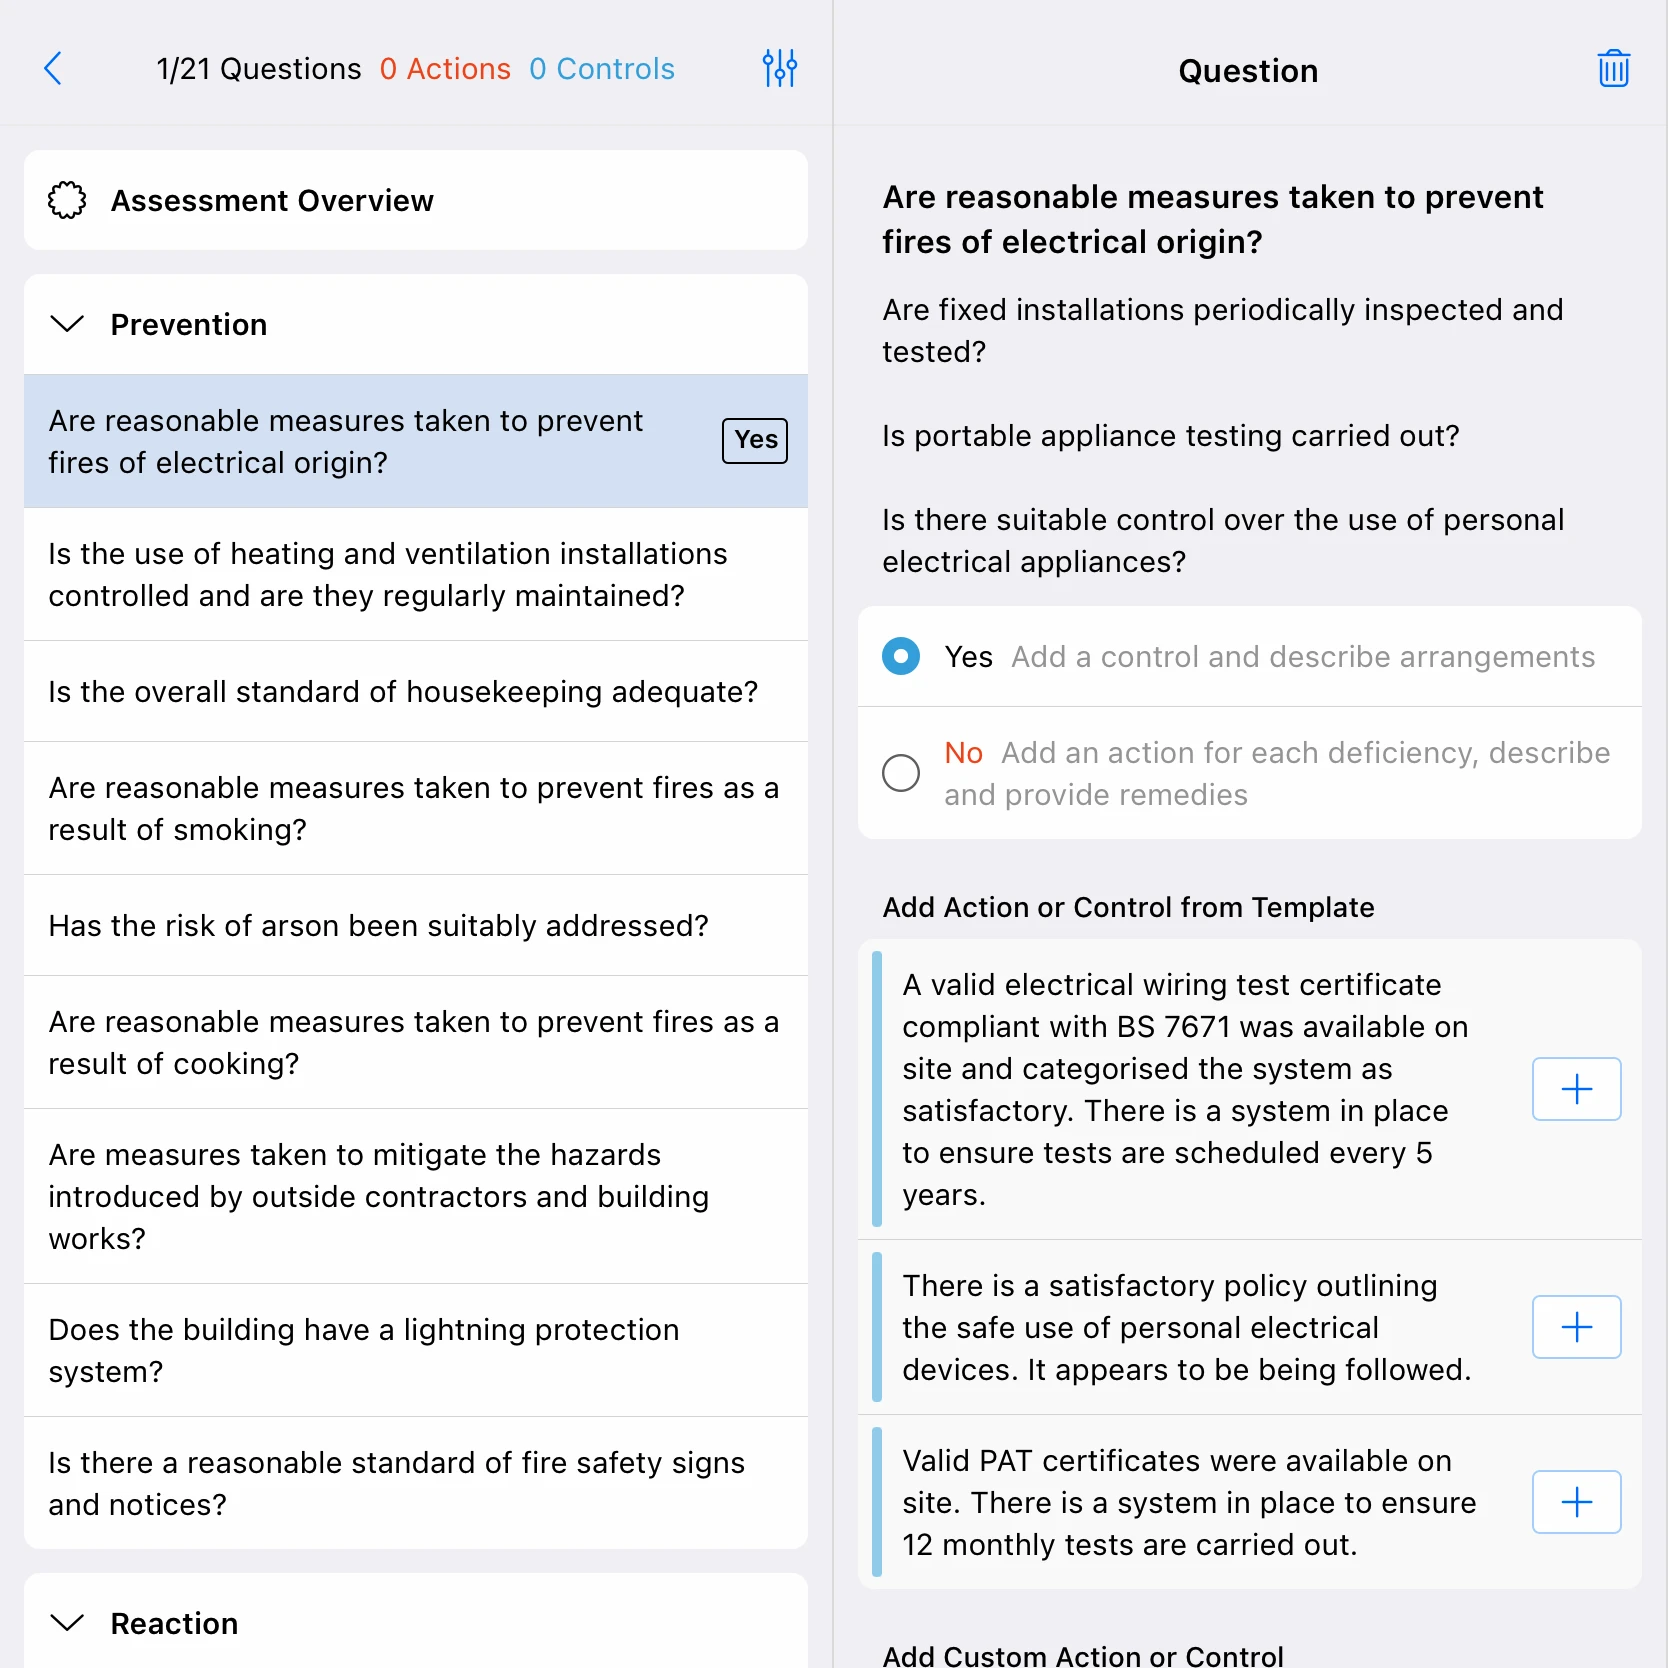
Answer Descriptions
- Answers sometimes include descriptions or directions.
- In the example above, Yes, instructs the assessor to 'Add control measures and describe existing arrangements'.
- Negative answers are Red which usually means actions need to be added.
- In the example below, No, instructs the assessor to 'Add an action for each deficiency and provide remedies'.
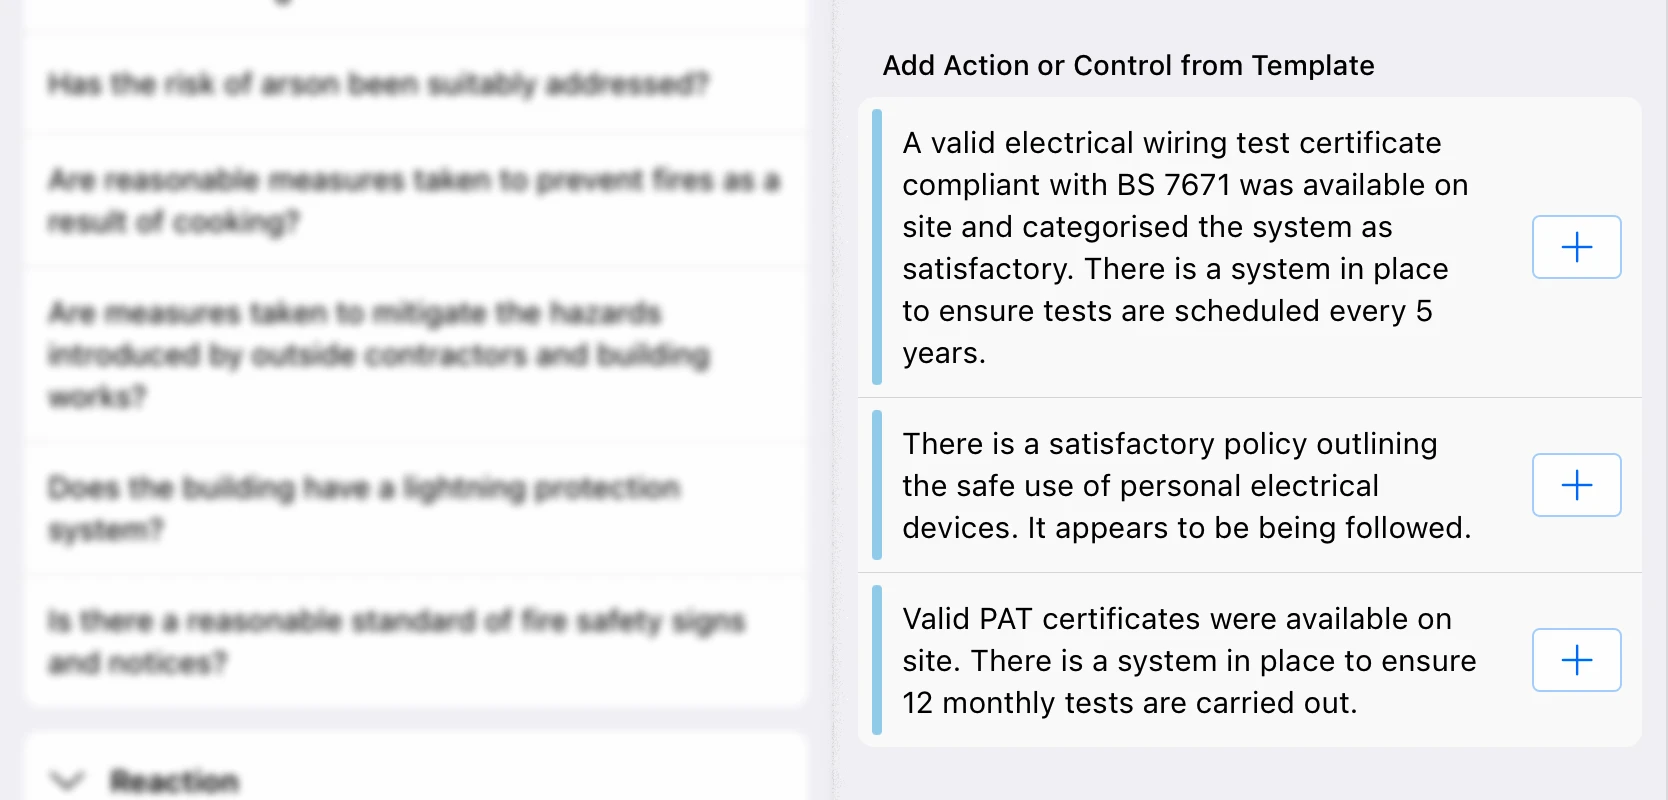
Add Control Measures
Suggested Control Measures appear on the right, below answers.
- Press + on a suggested control measure to add it.
- A control measure is added to the assesssment navigation, on the left.
- The control measure including further details opens on the right.
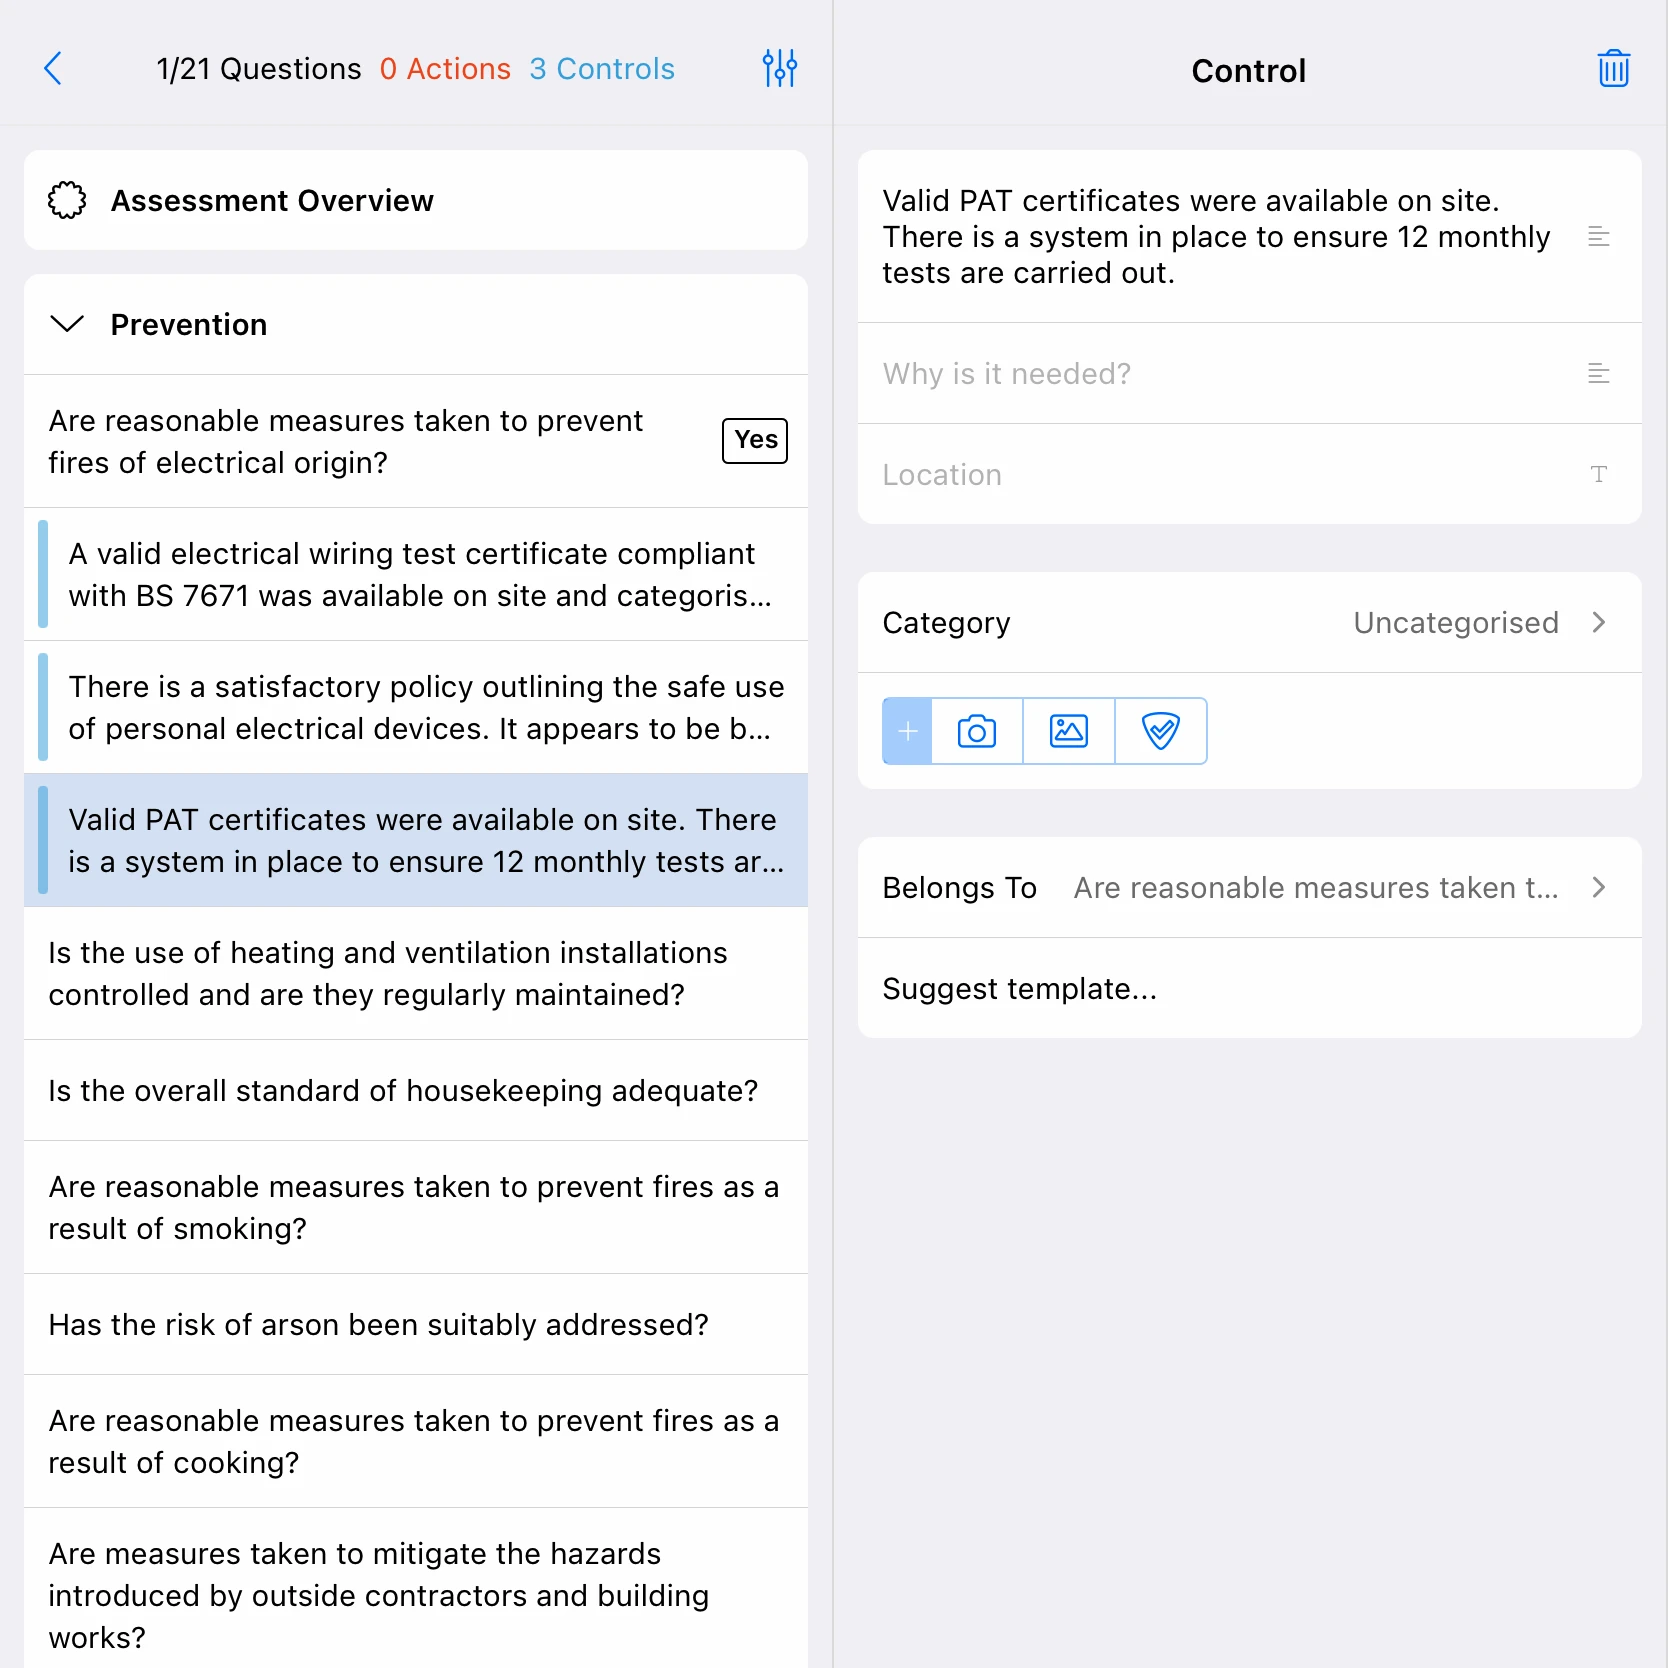
- Edit the description (if necessary).
- Add a why (optional).
- Add a location (optional).
- Attach a supporting photo.
- Take a photo with the devices camera.
- Add a photo from the devices photo library.
Add Actions
Suggested Actions Appear Below Answers
Learn about Actions.
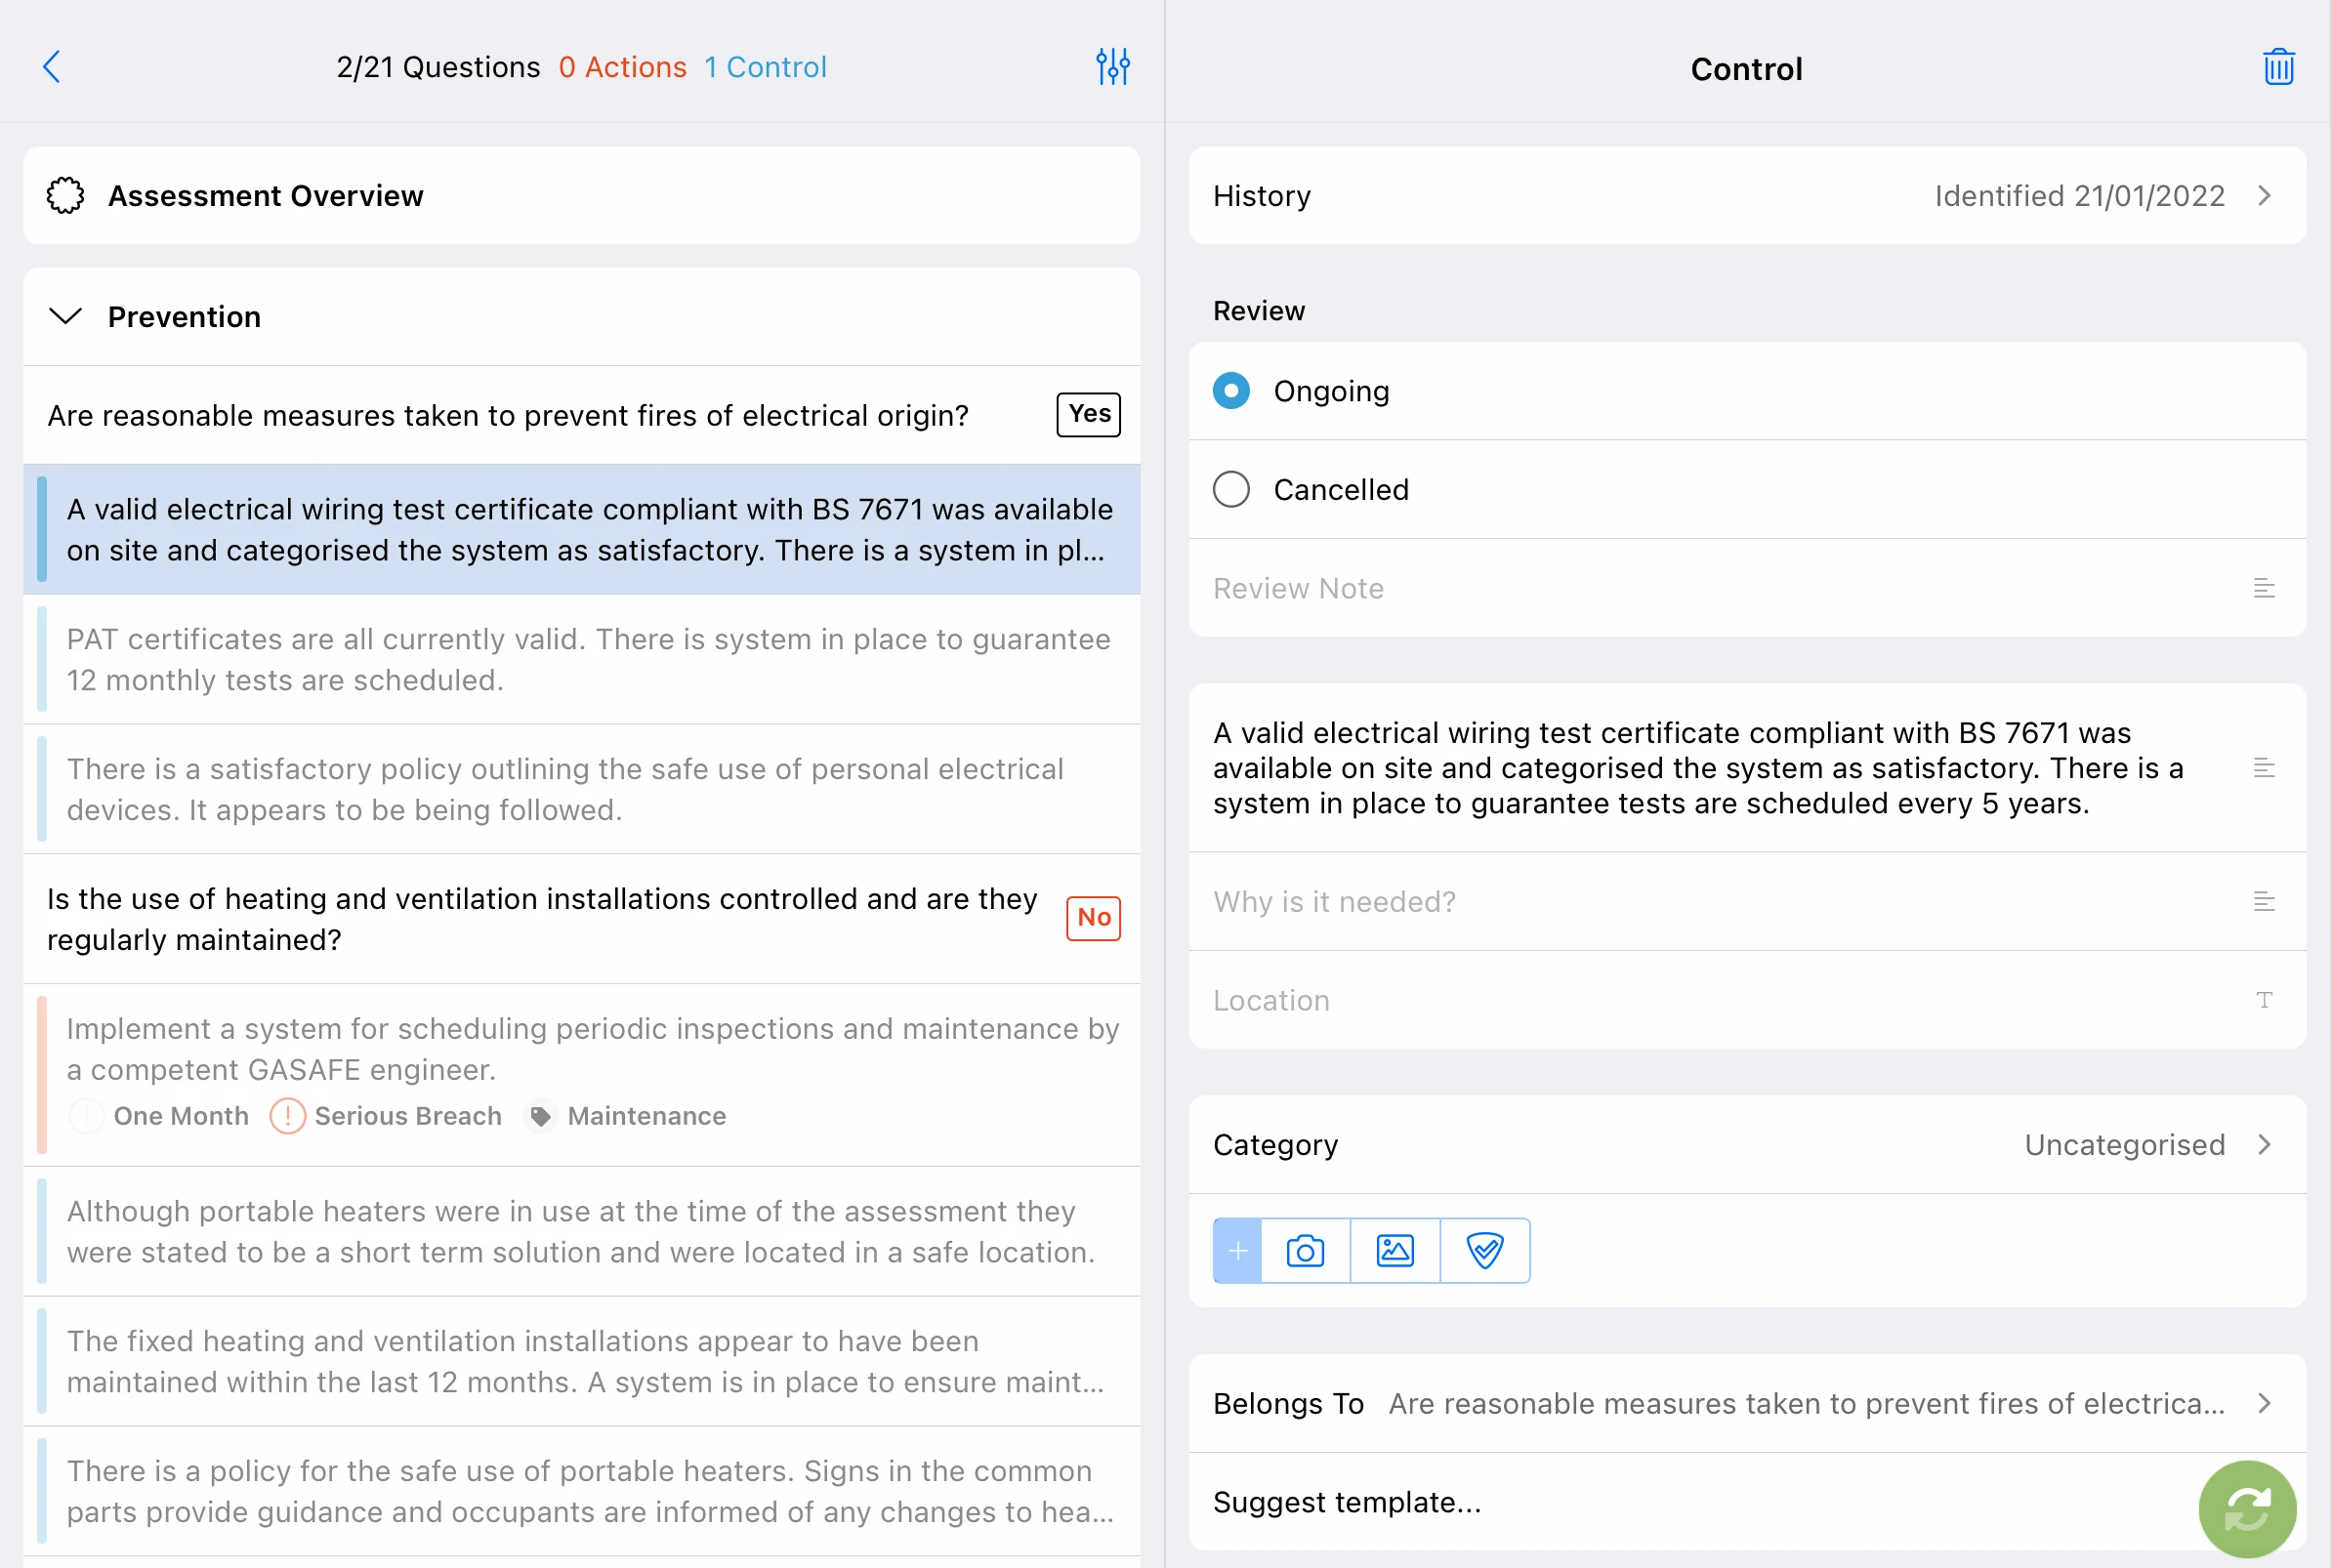
Re-Assess
When it comes time for subsequent assessments; previous controls, actions and answers appear in new assessments.
Assessors can see the most recent answer for each question
Assessors can see previous Control Measure
If existing arragments have stayed the same, previous control measures can be marked as Ongoing. The assessor doesn't need to re-add the same controls during each FRA.
If the control is no longer valid, assessors can select Cancelled to remove it.
Assessors can see previous Actions
Assessors can check and confirm the status of previous actions.
- Press on the previous action.
- Select from:
- Not started
- In Progress
- Completed
- Cancelled
- Add to or edit the action if necessary

Copy Assessment
You can copy in-progress assessments from one asset to another
If you have a series of similar buildings to assess, this tool will allow you to create a blueprint assessment and copy it to the other buildings.
This may also be useful if you have a customer who wants their actions and controls to include specific language and/or reference their policies.
- An assessment must be in progress to be copied
- An approved assessment cannot be copied
- You need to be the author of an assessment to copy it
- The copy tool does not copy photos or field information that identifies the building
- An assessment can be copied to one or more assets at a time
Copy an Assessment
- Sign in to https://app.riskbase.uk
- Download the asset you are copying from and the asset/s you are copying to
- Press on the asset you want to copy from
- Press Continue In-Progress Assessment
- Press the ... at the top of the screen to show options
- Select Copy Assessment
- Select the asset/s you want to copy to
- Press Copy
Submit
Once all the questions have been answered and all the control measures and actions have been added, the assessment is ready to be submitted.
Submit an Assessment
- Scroll to the top of the assessment navigation.
- Press Assessment Overview.
- Make changes to the overview, if required.
- Press Submit.

Press the
to send your findings up to RiskBase Cloud.
Assessment Video
We are continually improving the assessment workflow.
Follow along as we demo how to perfom an FRA with the latest version of the RiskBase App.
Don't forget to watch in full screen!