Door Survey
Get Started
Get the app, sign in and download assets
Start New Survey
Perform a Fire Door Survey
- Press on one of your downloaded assets.
- Press on Fire Summary.
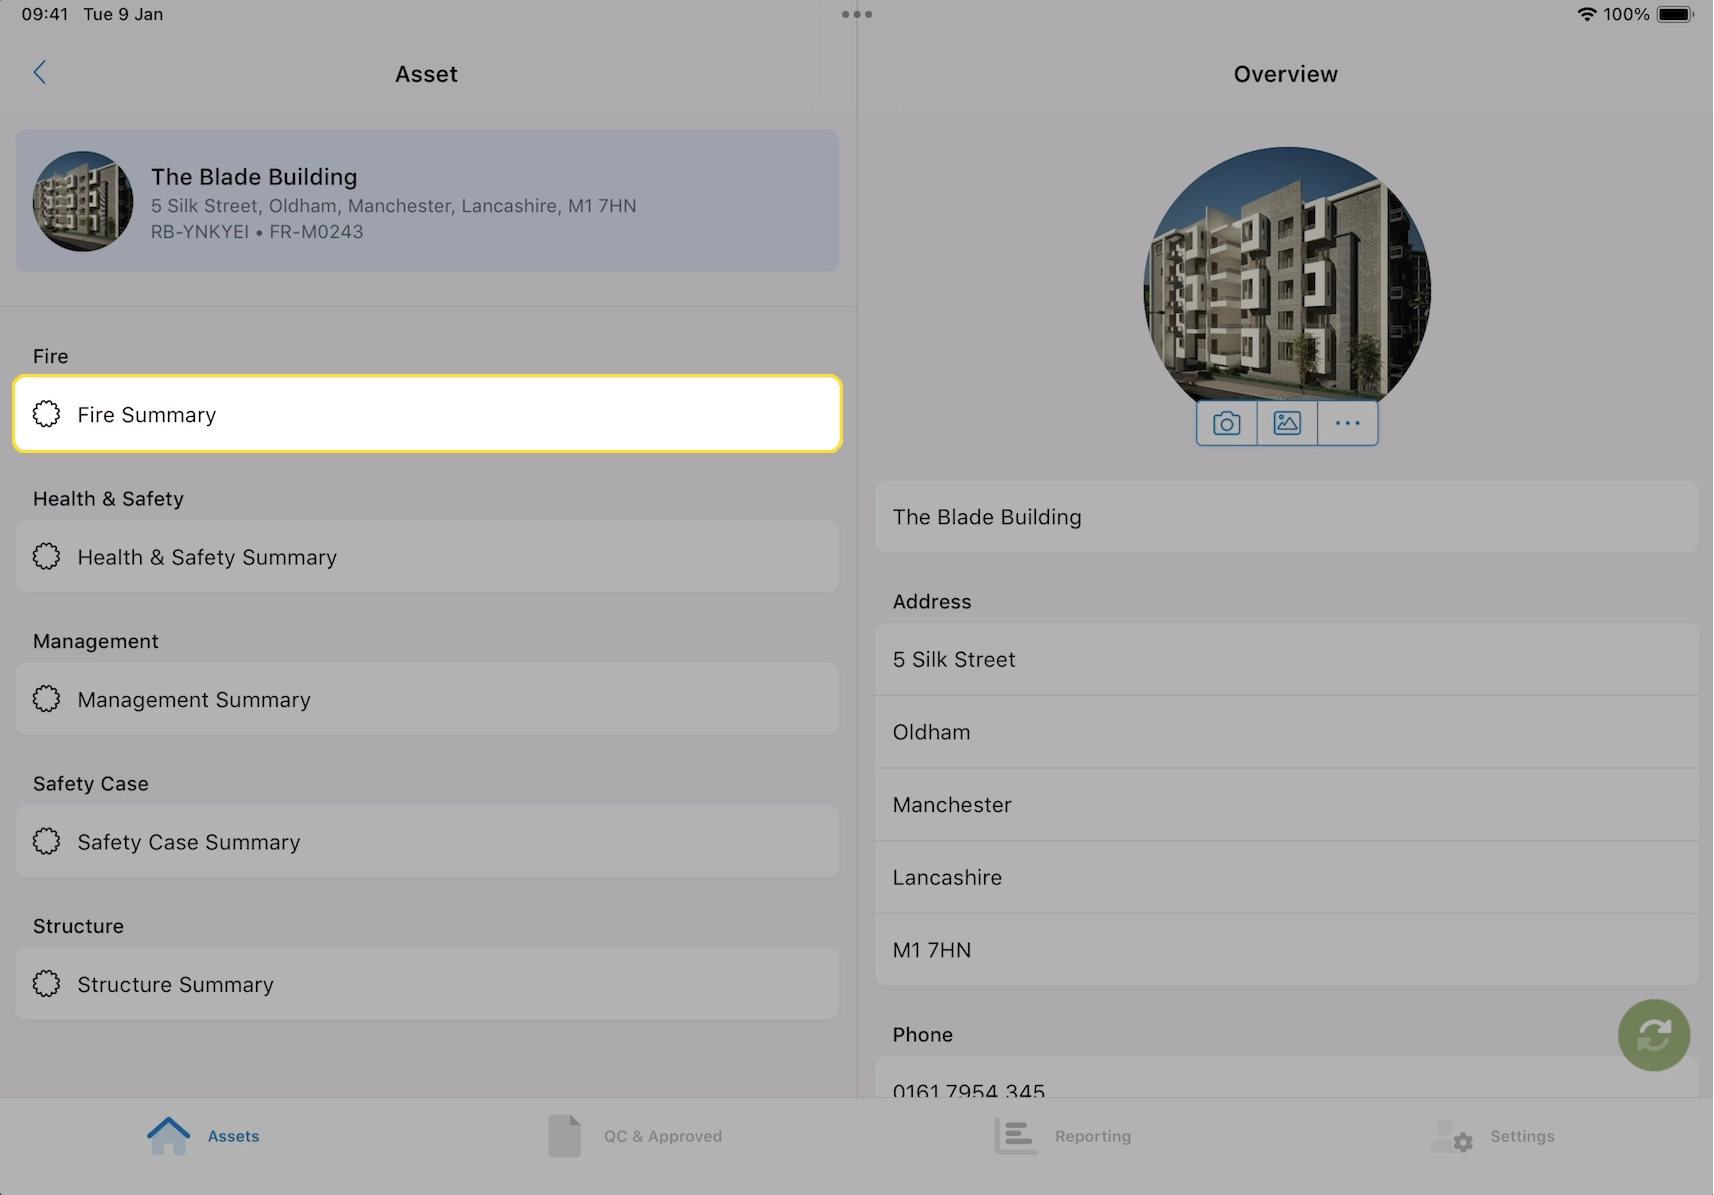
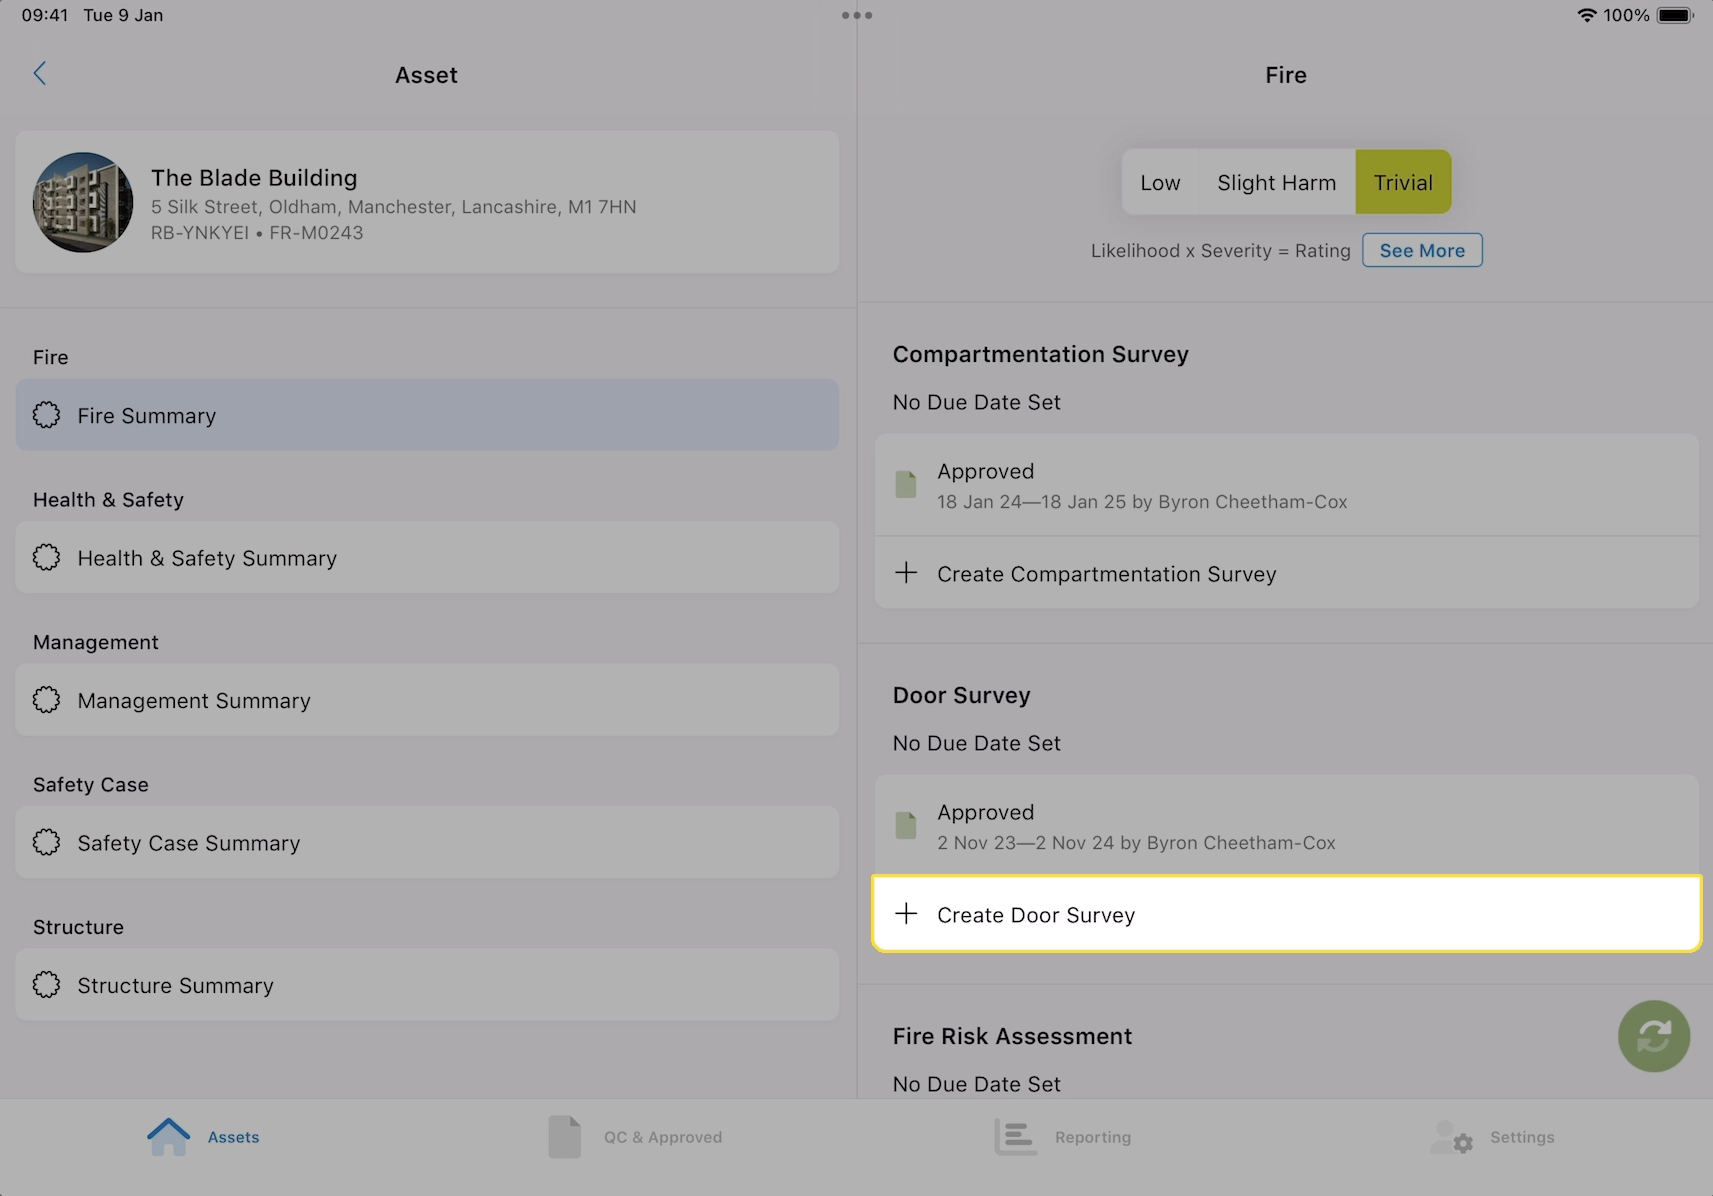
- Click + Create Door Survey.
Add New Door
Is this door new to RiskBase?
If so, you will need to create it.
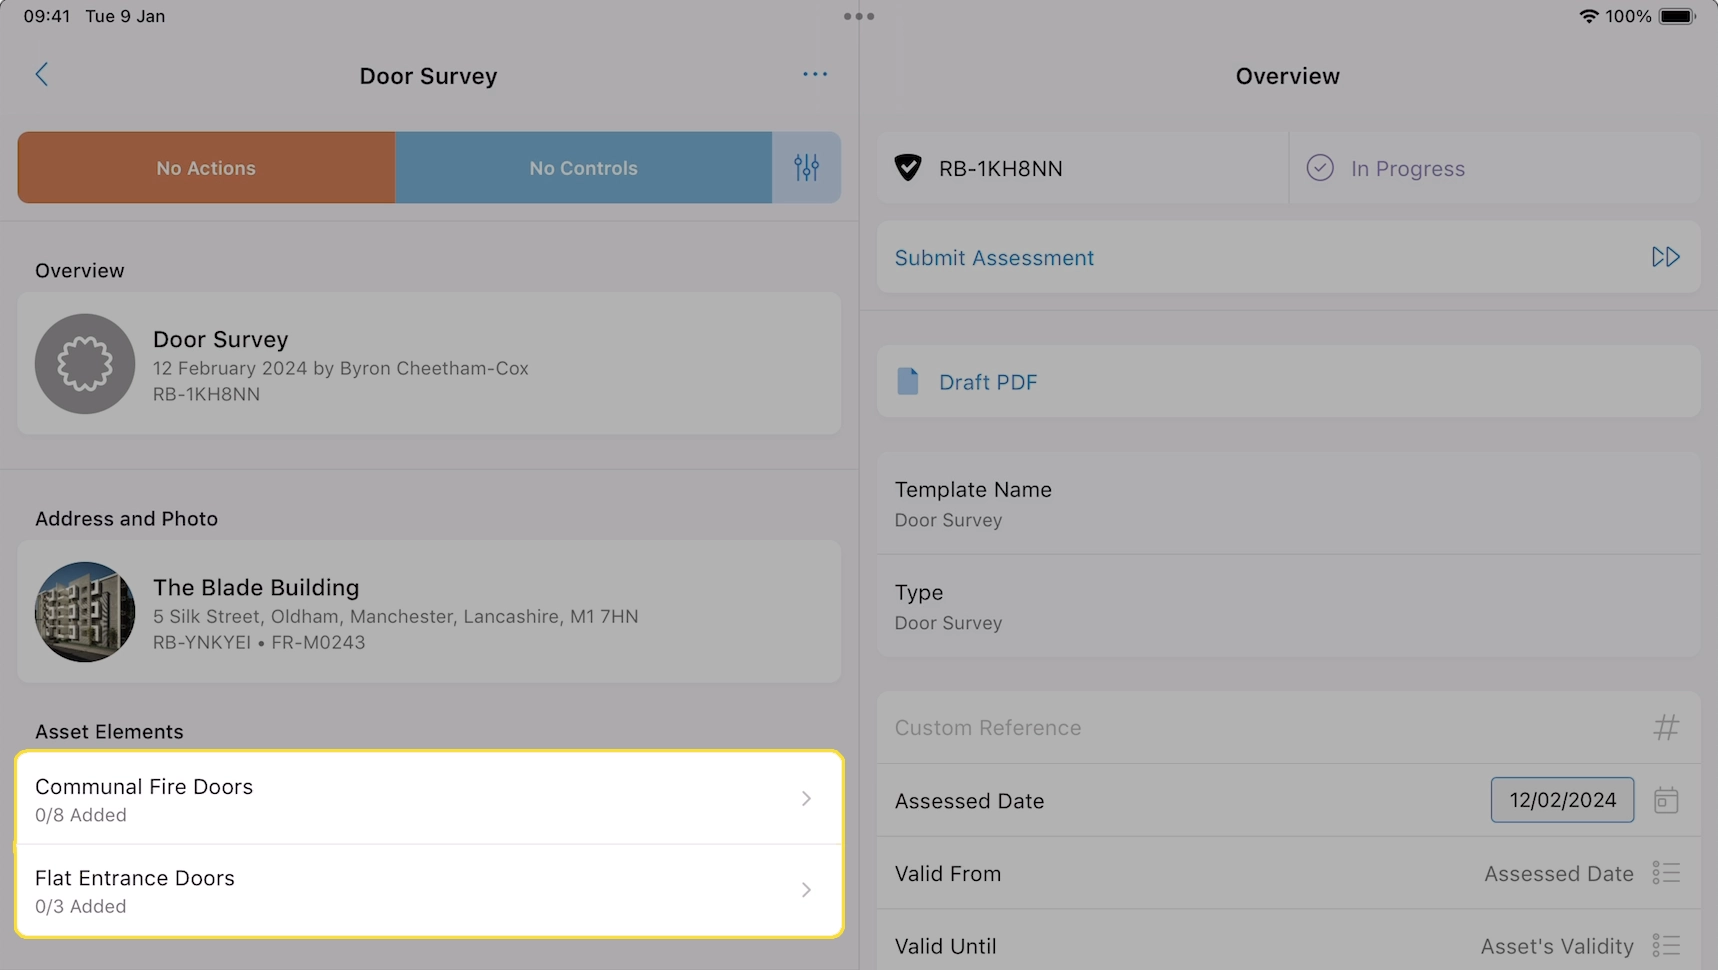
- Press on Communal Fire Door or Flat Entrance Door.
- Press Add New.
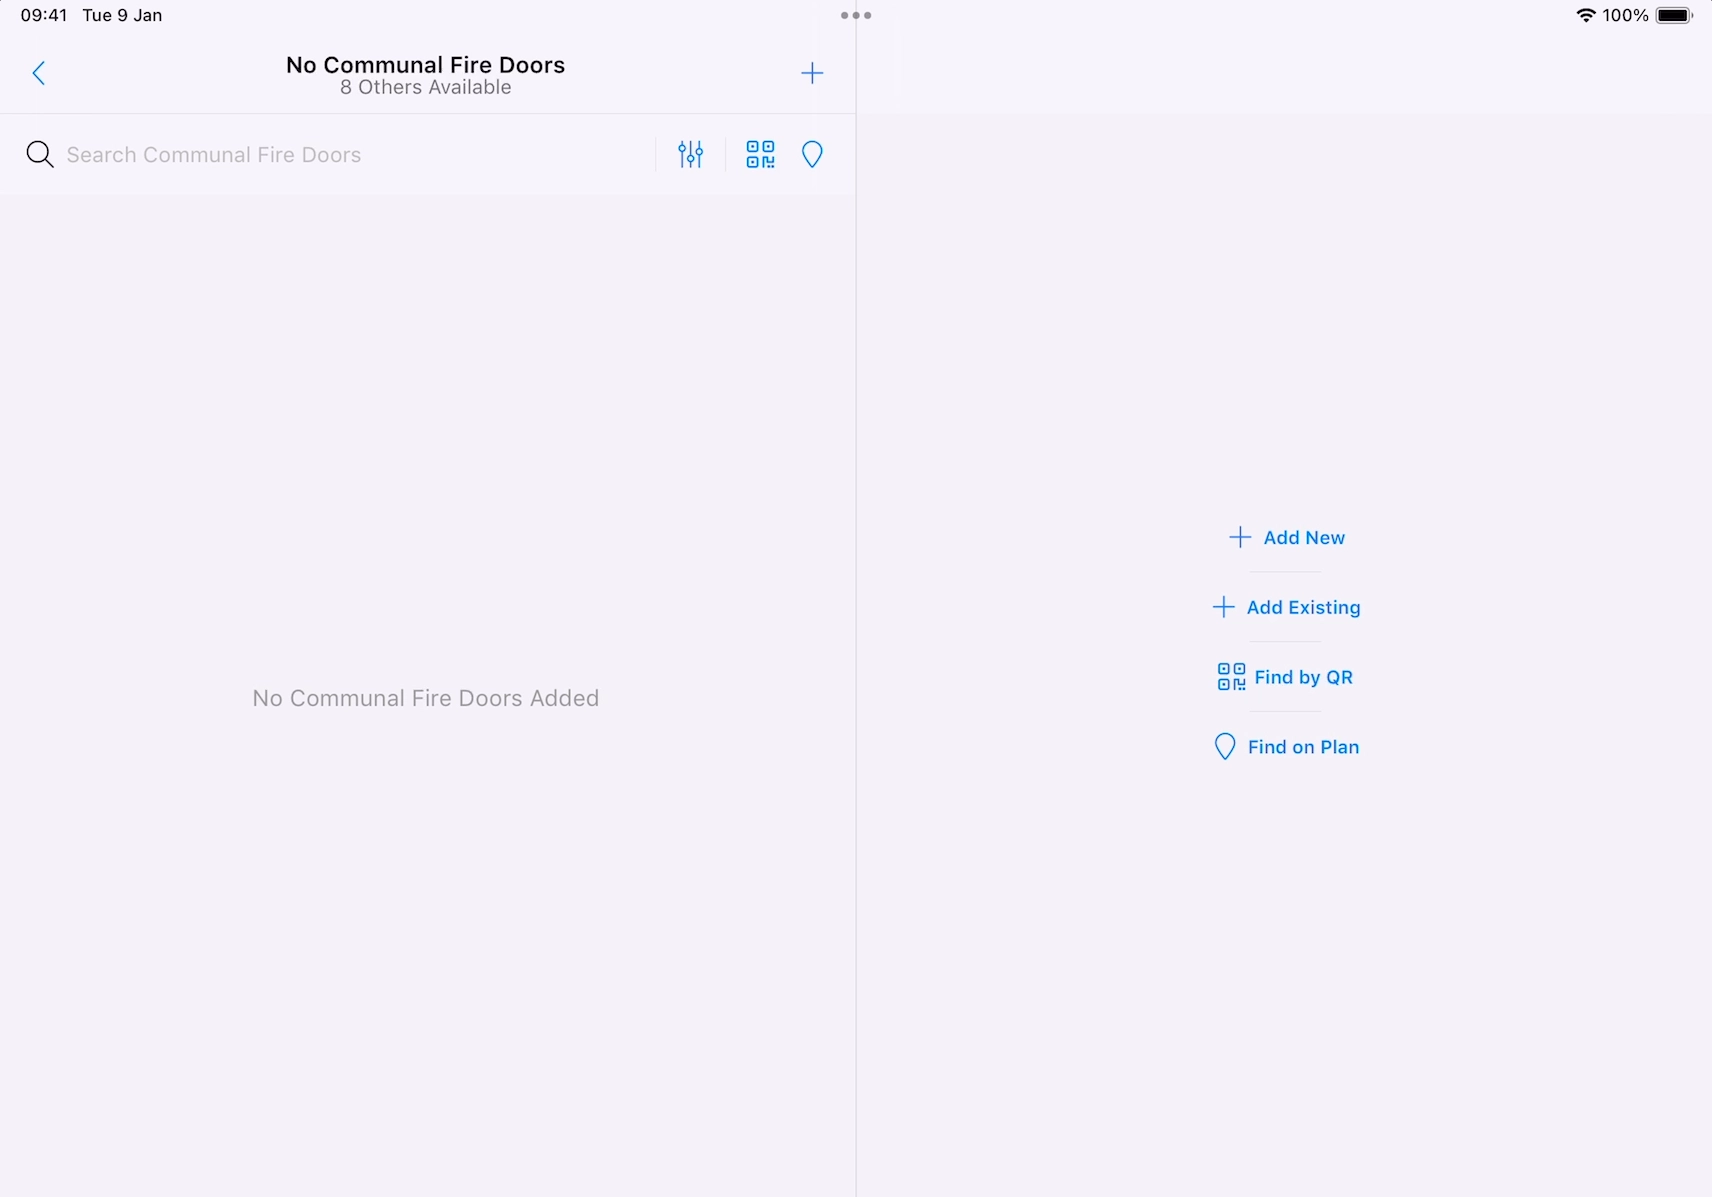
A modal with empty fields will pop up. Fill in the information you can.
Avoid creating duplicate doors
Check to see if a specific door already exists in RiskBase by pressing Add Existing. A modal with a list of existing doors will appear.
While an inspection is in progress, new doors are in draft
A door will only officially get created in RiskBase and be available for other users to see when the inspection is submitted and approved.
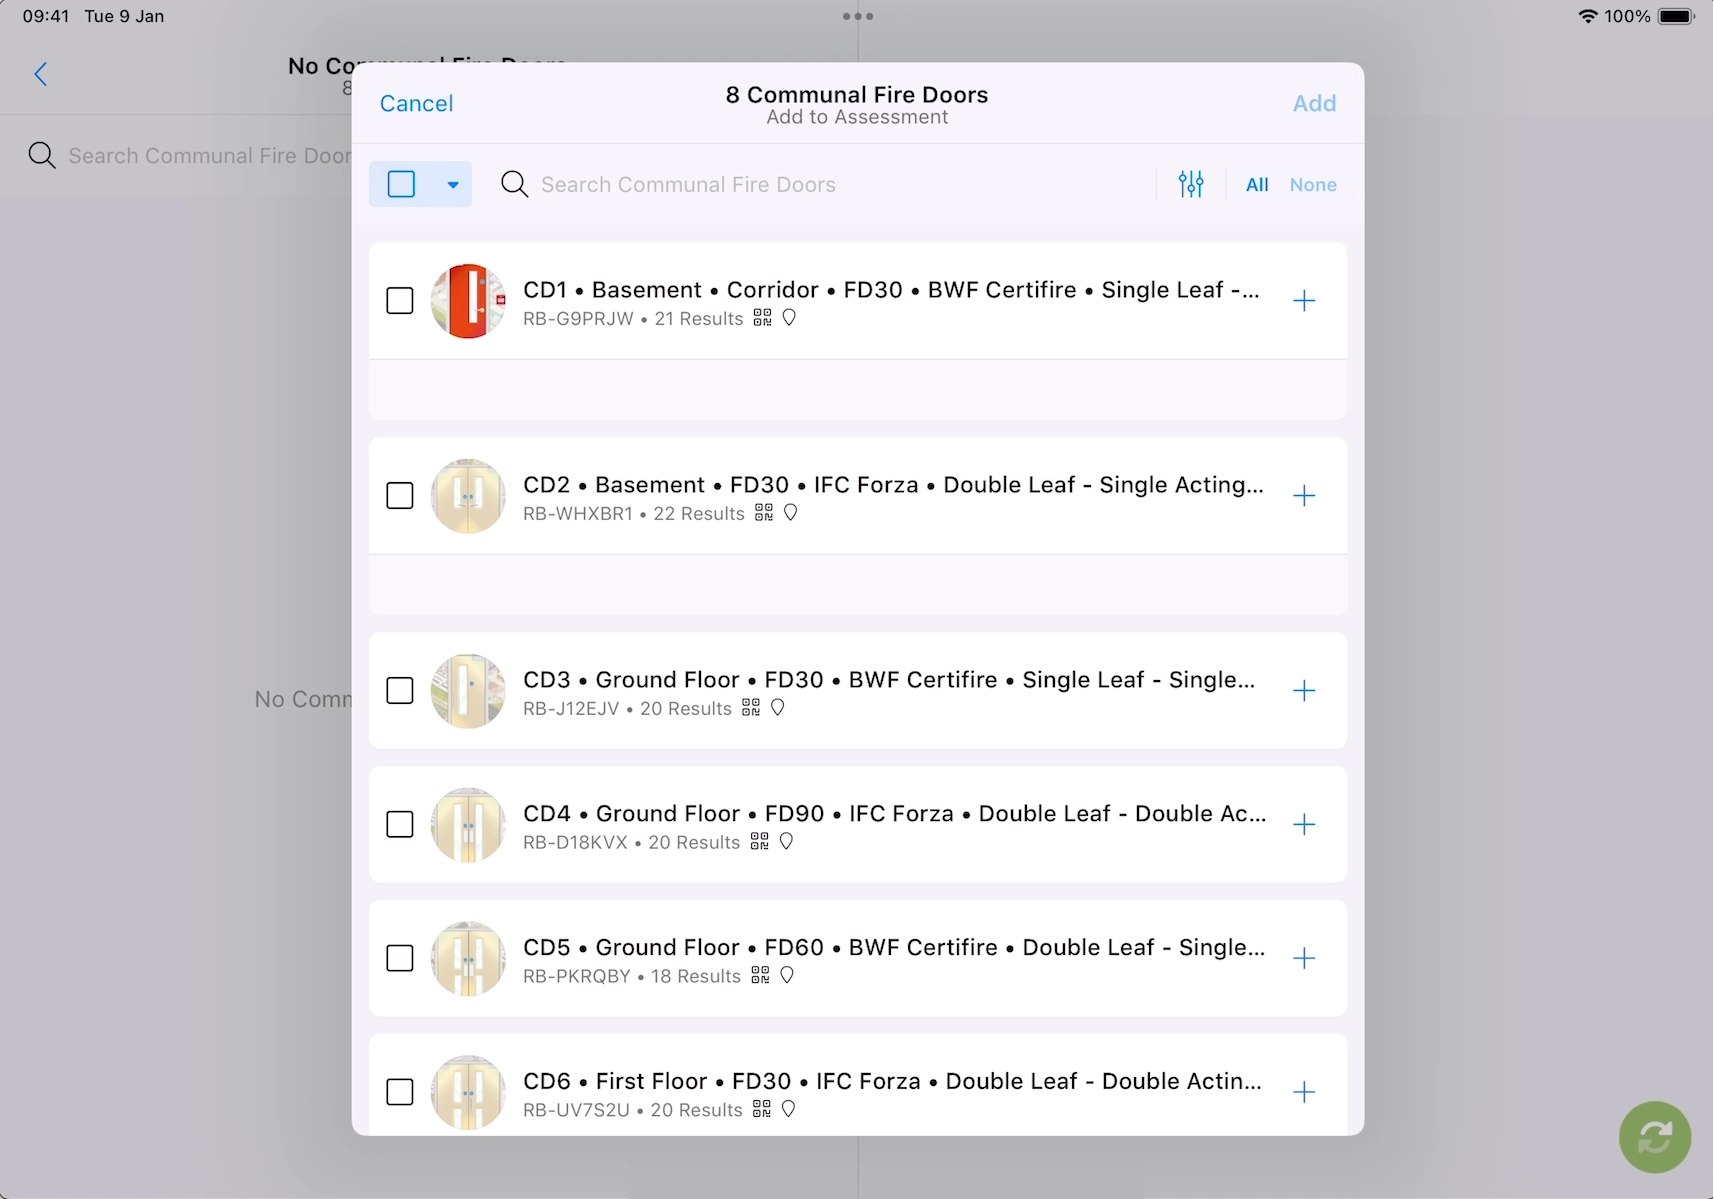
Add Existing Door
Find door from a list of existing doors
- Press on Communal Fire Door or Flat Entrance Door.
- Press Add Existing.
- Press on the icon to filter for outstanding elements. These are elements that have not had a full inspection in the current period.
- Select one or more doors and press Add.
Find door by scanning QR Code
- Press on Communal Fire Door or Flat Entrance Door.
- Press Find with QR or press the icon to open the QR scanner.
- Point your devices camera at a QR Code label attached to the physical door.
The door will pop up on your RiskBase screen.
- Review and update the door specification as required.
- Press Save to add the door to the inspection.
Find door on the floorplan
- Press on Communal Fire Door or Flat Entrance Door.
- Press Find by Pin or the icon.
- Press the icon to show a list of available floor plans.
- Press on a floor plan.
- Press on the pin to highlight it, it will turn green.
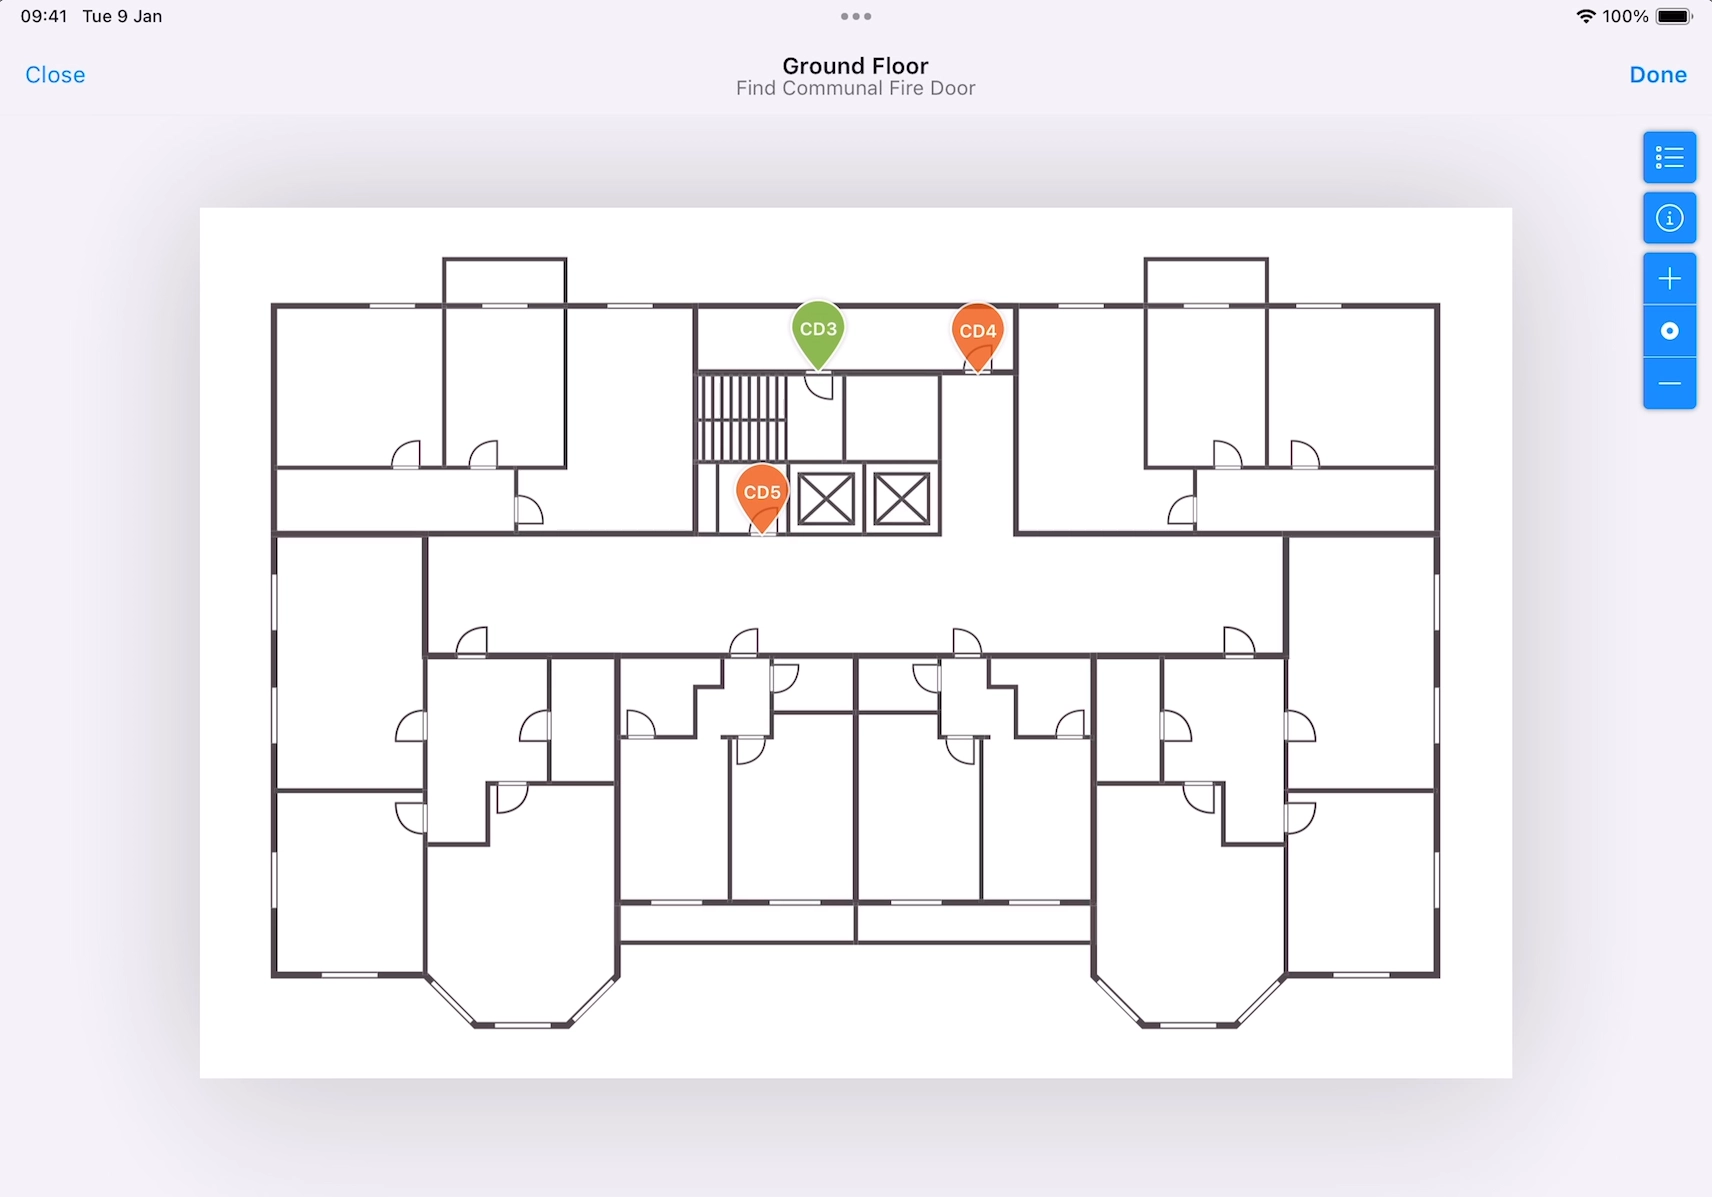
- Press Done.
The door will pop up on your RiskBase screen.
- Review and update the door specification as required.
- Press Save to add the door to the inspection.
Avoid creating duplicate doors
If the door you are inspecting already exists in RiskBase, you must not duplicate it. It's important to have single record of each door in RiskBase, in-order to maintain the golden thread of data.
Photo
Add a Photo of a door
- Press on the photo field.
- Use your devices camera to take a photo or select a photo from your devices photo library.
- Press Use Photo.
Photos can be updated at a later date but it's worth capturing a high-quality image so future visitors to the element can easily identify it.
QR
Link a QR Code to a door
- Attach a RiskBase QR Code label to the element.
- Inside the RiskBase app inspection, press on the QR field.
- Point your devices camera to the QR Code label.
This will create a link between the physical element and the data held in RiskBase.
In the case of a fire door, it's common to attach the label to the hinge side door jam to keep the labels descreet. It's down to each organisation where they choose to attach the labels.
Pin
Drop a Pin to identify the door's location
- Press on the Pin field.
- Select the relevant floor plan.
- Tap on the screen to drop the pin.
- Pinch to zoom and drag the pin around to refine the location.
There is no requirement to record every piece of information on an initial visit. Information in RiskBase is designed to be reviewed and built upon over time.
If floor plans are not available or you don't yet have QR Code labels, skip these steps.
Specification
Record information about a door
Each element has a set of fields to record the specific information required. Field types include: text, drop-down, number, date, time or image.
- Fill in the information you can.
- Do not provide any information unless you are sure of the accuracy.
There is no requirement to record every piece of information on an initial visit. Information in RiskBase is designed to be reviewed and built upon over time.
If you don't feel qualified to provide any of the information requested, leave the fields blank. This information can be filled in at a later date.
Access
Record when you didn't gain access to a door
- Press on Annual Check or Quarterly Check.
- Press on Attempted But Not Completed.
- Provide remarks to explain why the inspection couldn't be completed.
Condition
Assess the Condition of a door
- Press on the condition check.
- Work through the checklist of considerations, agreeing or disagreeing with the statements. Relevant actions are suggested as the checklist is completed.
Remedial Actions
If you identify any issues or hazards, you must recommend remedial actions.
Recommend Remedial Actions
Add Recommended Actions
- Scroll down to view suggested actions.
- Press on a suggested action.
- Update the 'what to do' and 'why to do it' text fields, category, severity and timescale if required.
- Take or attach photos if appropriate.
- Press Save.
Multi Author
Collaborate with colleagues
When more than one person is on-site performing door surveys at the same time, use Multi Author to collaborate and contribute to the same survey.
It is important not to create two separate surveys at the same time because of the risk of duplication. By contributing to the same survey, colleagues can keep track of each other's progress.
Add Authors
- Press on the Assessment Overview at the top of the survey screen.
- Scroll down to the multi-author sections.
- Press on the blue Add Author link.
- Select one or more of your colleagues.
- Press Done.
- Additional authors can now press on your In-Progress survey.
At the end of an survey in which multi-author has been used, ensure that every author syncs their device before one of the authors submits the survey.
Submit
Submit an survey
- Scroll to the top of the survey screen and press Submit.
- When prompted press Submit again to confirm you have completed the survey.
- Sync your device to ensure data is shared with the cloud.