Pricing Features Book a Demo

How-To

Start an Assessment

  1. Press on an asset.
  2. Press Fire Summary.
  3. Press + Create Fire Risk Assessment.

Create a new assessments

Scheduled Assessments

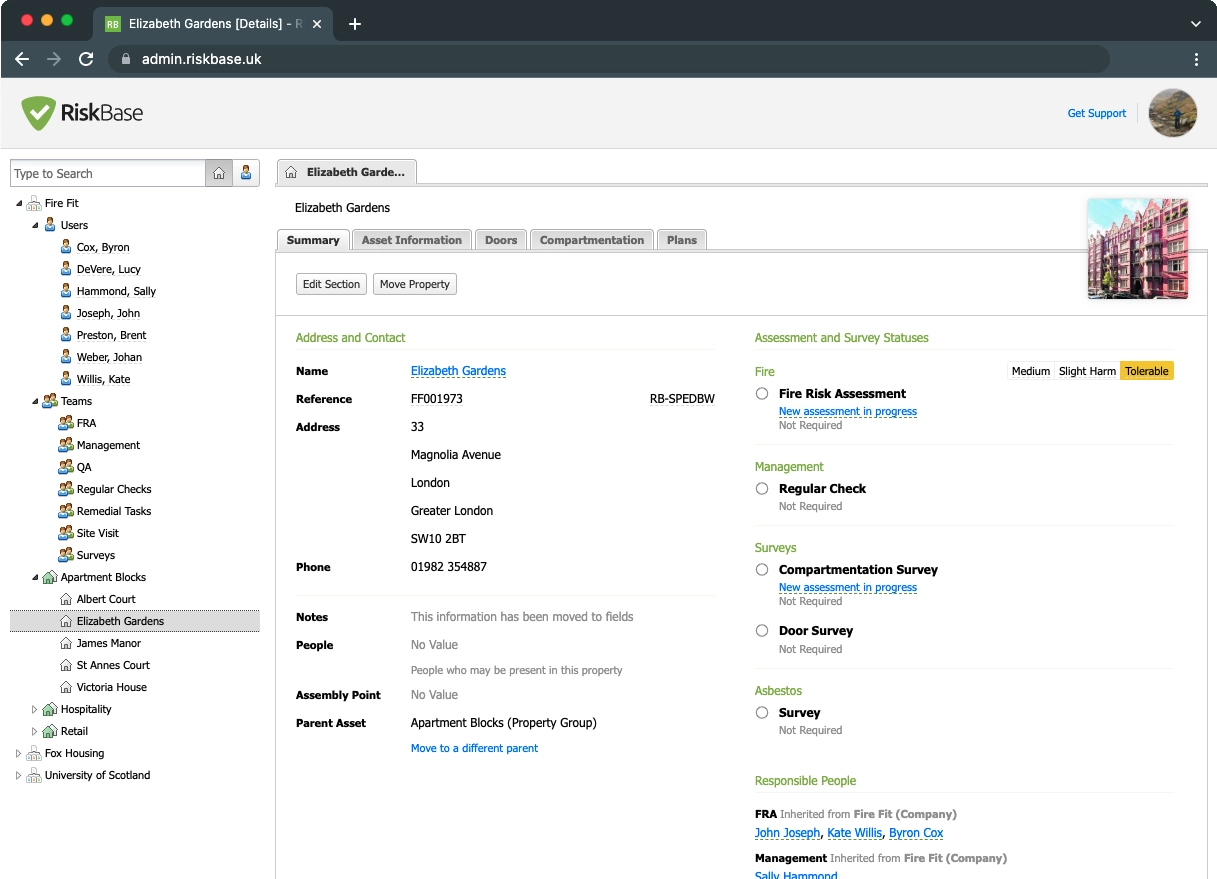
You can see if an assessment is scheduled on the asset page. The assessment type and due date is displayed.

Scheduled Assessments

Start a Scheduled Assessment

  1. Press on the asset.

In the example, an FRA is due on the 31st January 2022 and You're Assigned.

  1. Press + Create Fire Risk Assessment.

Scheduled Assessments

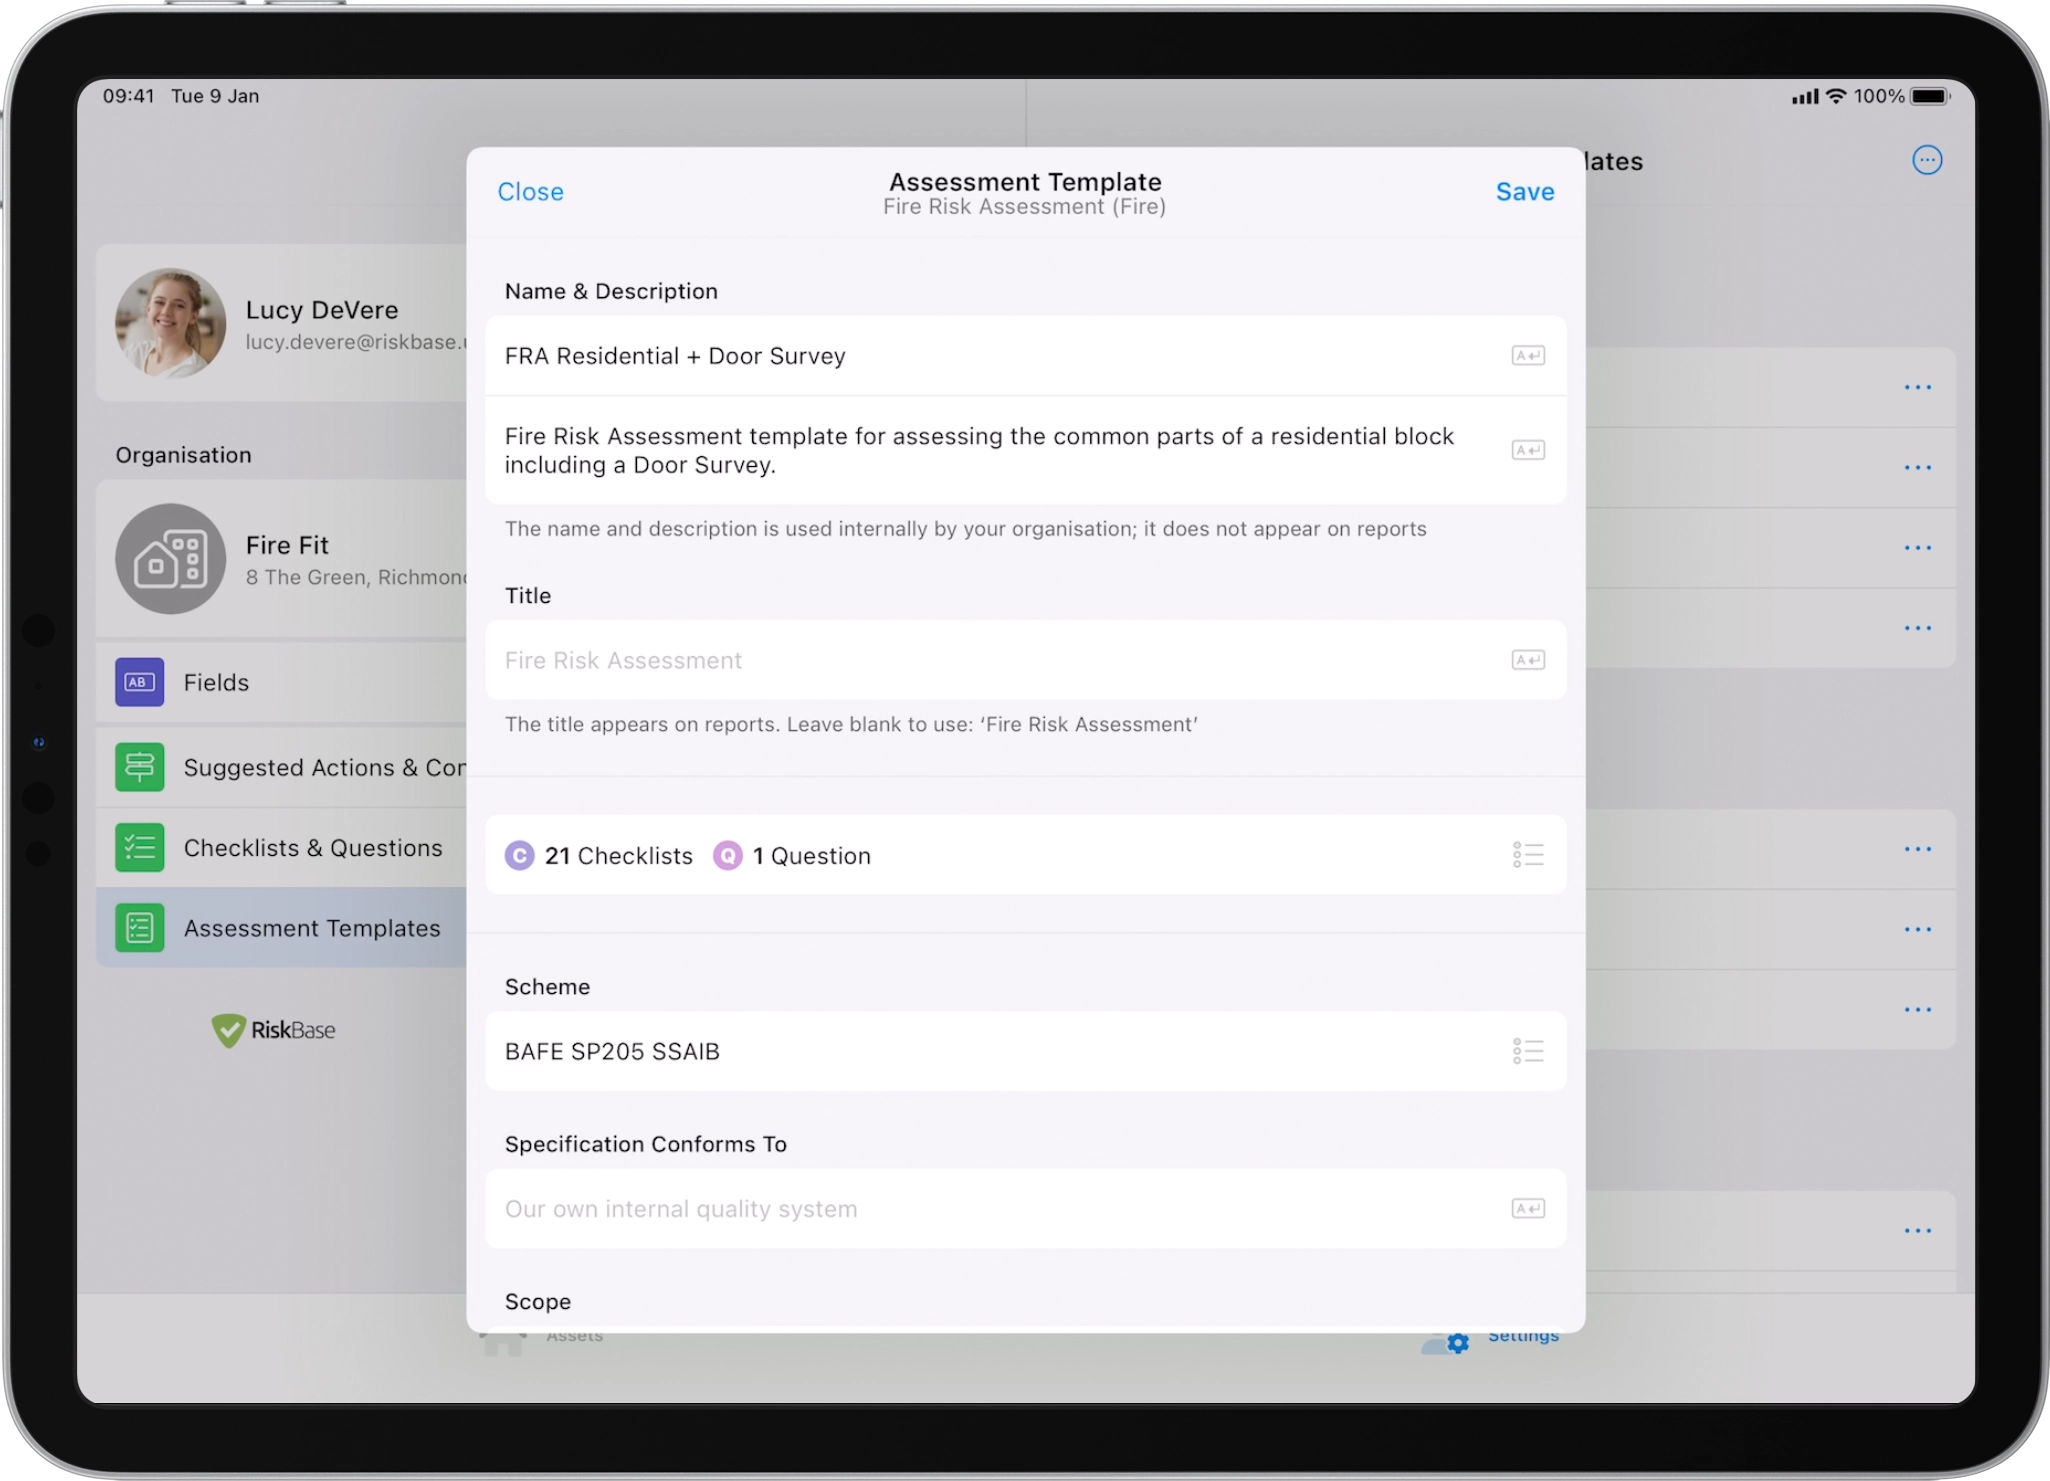
Select a Template

If you have access to multiple templates, choose one appropriate for the building being assessed.

  1. Press on a template.

Templates

Assessment Layout

Tablet & Desktop Layout

The Assessment Navigation is on the left.

Use the navigation to get to the:

  • Assessment Overview.
  • Address & Photo.
  • Asset Fields.
  • Checklists & Questions.
  • Actions & Controls

These sections open on the right.

Templates

Smartphone Layout

When you open an assessment, you land on the Assessment Navigation.

Use the navigation to get to the:

  • Assessment Overview.
  • Address & Photo.
  • Asset Fields.
  • Checklists & Questions.
  • Actions & Controls

These sections open in new pages. Press the back button to return to the navigation.

Answer Questions

  1. Press on a question.
    • Tablet: The full question including a description will show on the right.
    • Smartphone: The full question including a description will open on a new page.
  2. Read the question.
  3. Select one of the multiple-choice options.

Answer an Question

Answer Descriptions
  • Answers sometimes include descriptions or directions.
  • In the example above, Yes, instructs the assessor to 'Add control measures and describe existing arrangements'.
  • Negative answers are Red which usually means actions need to be added.
  • In the example below, No, instructs the assessor to 'Add an action for each deficiency and provide remedies'.

Add Control Measures

Suggested Control Measures appear on the right, below answers.

  1. Press + on a suggested control measure to add it.

Add Control Measure

  • A control measure is added to the assesssment navigation, on the left.
  • The control measure including further details opens on the right.

Adding Control Measures

  1. Edit the description (if necessary).
  2. Add a why (optional).
  3. Add a location (optional).
  4. Attach a supporting photo.
    • Take a photo with the devices camera.
    • Add a photo from the devices photo library.

Add Actions

Suggested Actions appear on the right below answers.

  1. Press + on a suggested action to add it.

Add Action

  • An action is added to the assesssment navigation, on the left.
  • The action including further details opens on the right.

Adding Actions

  1. Edit the description (if necessary).
  2. Add/edit the why (optional).
  3. Add a locaiton (optional).
  4. Add/edit the category (optional).
  5. Attach a supporting photo (optional).
    • Take a photo with the devices camera.
    • Add a photo from the devices photo library.
  6. Manually assign a responsible Team (optional).
  7. Manually assign a responsible person (optional).

Custom Controls & Actions

If none of the Suggested Control Measures and/or Actions are relevant, you can add custom ones.

Add a Custom Control Measure

While answering a question:

  1. Scroll down to below the suggested controls and actions.
  2. Press + in the Add Custom Control section.

Adding a Custom Control

  1. Provide a description (required).
  2. Add additional information and supporting photos (optional).
Add a Custom Action

While answering a question:

  1. Scroll down to below the suggested controls and actions.
  2. Press + in the Add Custom Action section.
  3. Provide a description (required).
  4. Add additional information and supporting photos (optional).

Re-Assess

When it comes time for subsequent assessments; previous controls, actions and answers appear in new assessments.

Assessors can see the most recent answer for each question

Reassess Question

Assessors can see previous Control Measure

If existing arragments have stayed the same, previous control measures can be marked as Ongoing. The assessor doesn't need to re-add the same controls during each FRA.

If the control is no longer valid, assessors can select Cancelled to remove it.

Reassess Control

Assessors can see previous Actions

Assessors can check and confirm the status of previous actions.

  1. Press on the previous action.
  2. Select from:
    • Not started
    • In Progress
    • Completed
    • Cancelled
  3. Add to or edit the action if necessary

Reassess Action

Submit

Once all the questions have been answered and all the control measures and actions have been added, the assessment is ready to be submitted.

Submit an Assessment
  1. Scroll to the top of the assessment navigation.
  2. Press Assessment Overview.
  3. Make changes to the overview, if required.
  4. Press Submit.

Submit Assessment

Press the Sync to send your findings up to RiskBase Cloud.

Assessment Video

We are continually improving the assessment workflow.

Follow along as we demo how to perfom an FRA with the latest version of the RiskBase App.

Don't forget to watch in full screen!

Back

Support